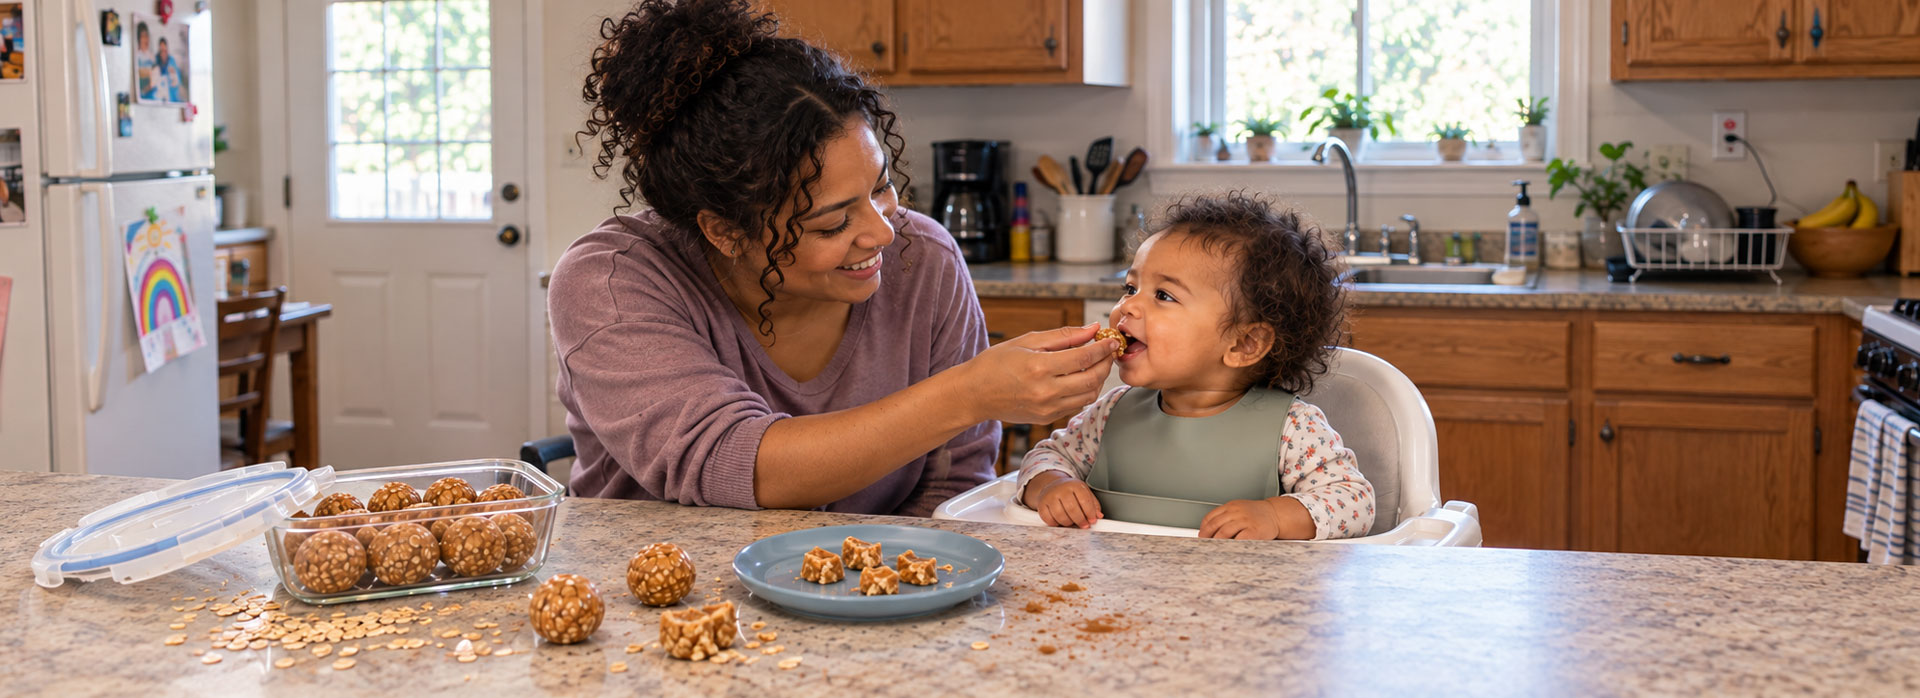
These no-bake oat balls provide fiber from whole-grain oats to support digestion, plus protein and healthy fats from peanut butter. Pumpkin adds vitamin A, which helps keep eyes healthy.
Ingredients
Makes: 10 one-inch balls
Prep Time: 10-15 minutes
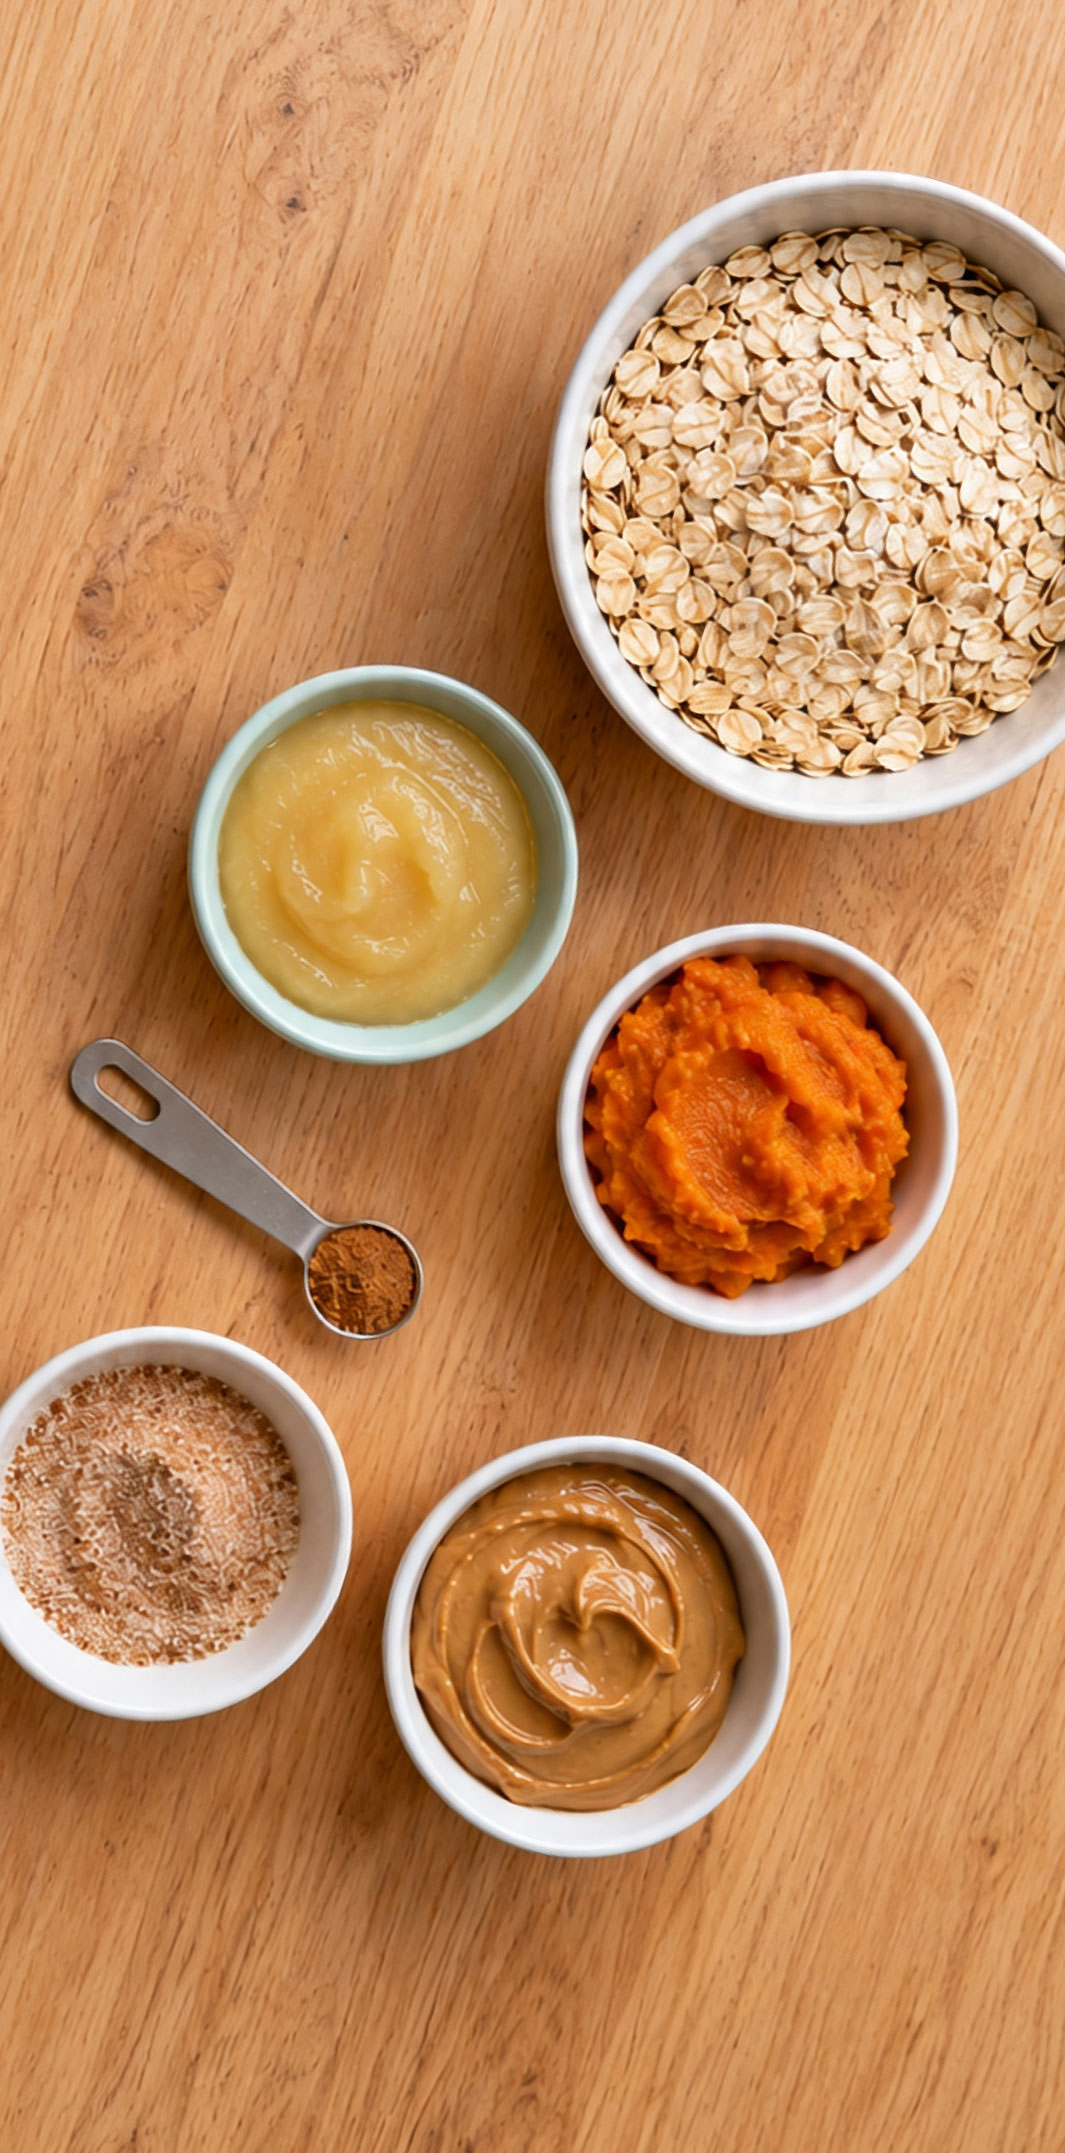
¾ cup old-fashioned rolled oats or plain instant oats, plus more if needed
¼ cup pumpkin puree (not pumpkin pie filling)
¼ cup creamy peanut butter
2–3 tablespoons banana, apple, or mango baby food puree
½ teaspoon pumpkin pie spice
Cinnamon sugar, for coating
Tip!
Instead of banana baby food, use ¼ of a ripe banana, mashed until smooth. If using natural peanut butter, stir it well before measuring.
Directions
In a medium bowl, stir together the pumpkin puree and pumpkin pie spice.
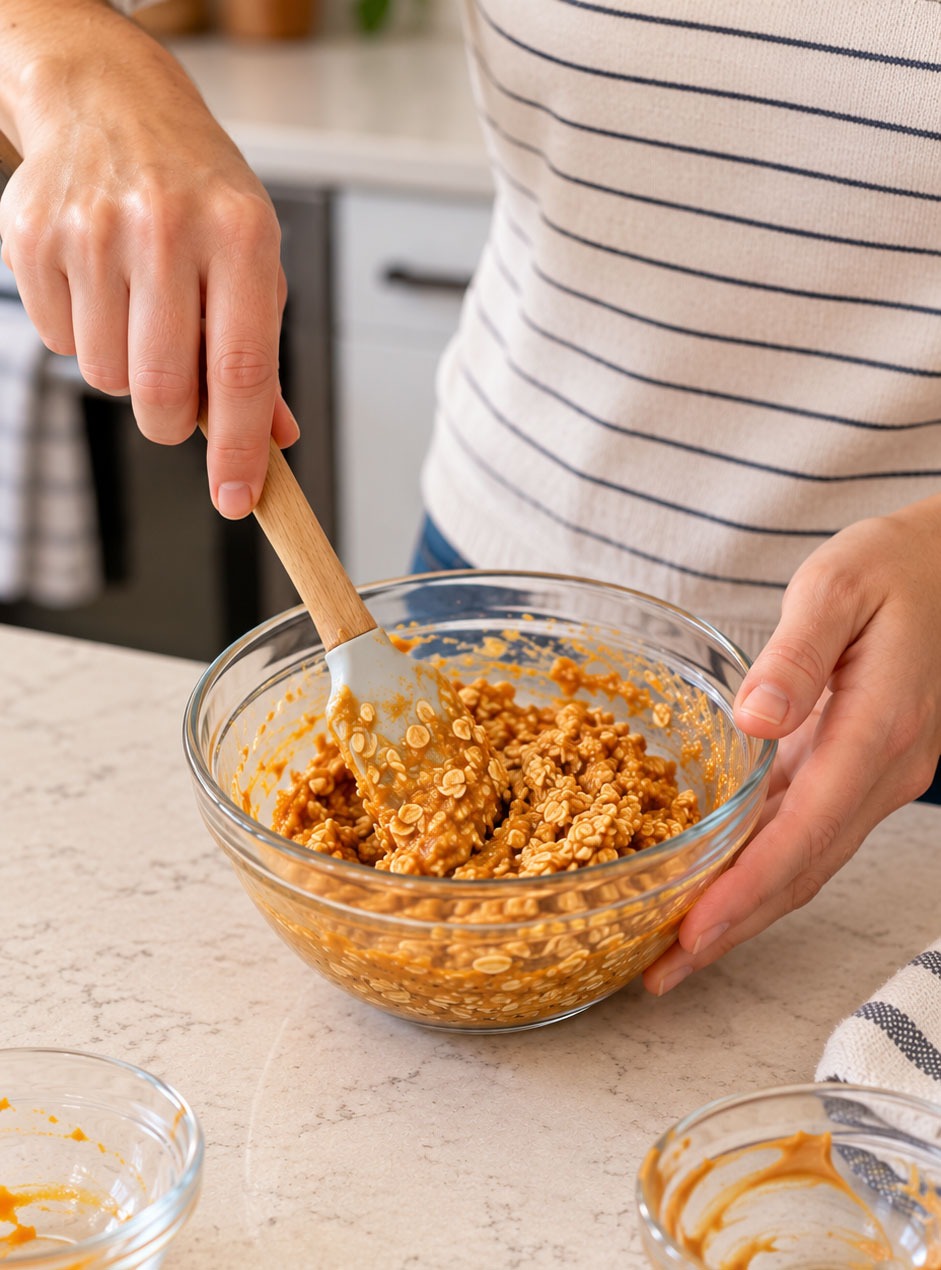
Add the peanut butter and fruit puree. Mix well.
Stir in the oats. If the mixture is too moist to hold its shape, add more oats, one tablespoon at a time, until you can roll it into balls.
Roll the mixture into about 10 balls, each about one inch wide.
Place a small amount of cinnamon sugar in a shallow dish. Roll each ball lightly in the mixture.
Cover and refrigerate until ready to serve.
Serving Young Children
Flatten the balls and cut them into small, soft pieces no larger than ½ inch. Have children sit and always supervise them while eating.
How to Store
Store the oat balls in an airtight container in the refrigerator at 40°F or below. When made with freshly opened fruit puree, plan to eat them within 2–3 days. If using puree that was already opened, follow its earlier discard date.
Install this web app on your iPhone: tap and then Add to Home Screen.
Share to Social
Share this link via
Side-Lying Hold
For the right breast, lie on your right side with your baby facing you.
Pull your baby close. Your baby’s mouth should be level with your nipple.
In this position, you can cradle your baby’s back with your left arm and support yourself with your right arm and/or pillows.
Keep loose clothing and bedding away from your baby.
Reverse for the left breast.
This hold is useful when:
You had a C-section
You want to rest while baby feeds
You are breastfeeding in the middle of the night
You and your baby are comfortable in this position
Cross-Cradle Hold
For the right breast, use your left arm to hold your baby’s head at your right breast and baby’s body toward your left side. A pillow across your lap can help support your left arm.
Gently place your left hand behind your baby’s ears and neck, with your thumb and index finger behind each ear and your palm between baby’s shoulder blades. Turn your baby’s body toward yours so your tummies are touching.
Hold your breast as if you are squeezing a sandwich. To protect your back, avoid leaning down to your baby. Instead, bring your baby to you.
As your baby’s mouth opens, push gently with your left palm on baby’s head to help them latch on. Make sure you keep your fingers out of the way.
Reverse for the left breast.
This hold is useful when:
Your baby is premature
Your baby has a weak suck
Your baby needs help to stay latched
Your baby needs extra head support
You and your baby are comfortable in this position
Clutch or “Football” Hold
For the right breast, hold your baby level, facing up, at your right side.
Put your baby’s head near your right nipple and support their back and legs under your right arm.
Hold the base of your baby’s head with your right palm. A pillow underneath your right arm can help support your baby’s weight.
To protect your back, avoid leaning down to your baby. Bring baby to you instead.
Reverse for the left breast.
This hold is useful when:
You had a C-section
You have large breasts
You have flat or inverted nipples
You have a strong milk let-down
You are breastfeeding twins
Your baby likes to feed in an upright position
Your baby has reflux
You and your baby are comfortable in this position
Cradle Hold
For the right breast, cradle your baby with your right arm. Your baby will be on their left side across your lap, facing you at nipple level.
Your baby’s head will rest on your right forearm with your baby’s back along your inner arm and palm.
Turn your baby’s tummy toward your tummy. Your left hand is free to support your breast, if needed. Pillows can help support your arm and elbow.
To protect your back, avoid leaning down to your baby. Instead, bring your baby to you.
Reverse for the left breast.
This hold is useful when:
Your baby needs help latching on
You and your baby are comfortable in this position
Laid-Back Hold
Lean back on a pillow with your baby’s tummy touching yours and their head at breast level. Some moms find that sitting up nearly straight works well. Others prefer to lean back and lie almost flat.
You can place your baby’s cheek near your breast, or you may want to use one hand to hold your breast near your baby. It’s up to you and what you think feels best.
Your baby will naturally find your nipple, latch, and begin to suckle.
This hold is useful when:
Your baby is placed on your chest right after birth
You have a strong milk let-down
You have large breasts
You and your baby are comfortable in this position



 Pumpkin Peanut Butter Oat Ball Recipe
 Ingredients
 Directions
 How to Store


Do you find this post helpful?
Show some love here!
For young children, make sure the apple pieces are very small and soft after baking.