
Wyoming WIC

Teaching Your Baby How to Drink from a Cup

Teaching-Your-Baby-How-to-Drink-from-a-Cup-QR-code
April 6, 2022 Infant

When your baby turns six months, it’s a good time to start thinking about teaching them to drink from a cup. Why now? It strengthens their mouth muscles for talking and develops their hand-to-mouth coordination skills. If you start this process too late—after eight months, you may find it harder for your baby to accept the cup.

What’s the best cup for my baby?

There are many cup options on the market; here are a few things to think about before spending your money:
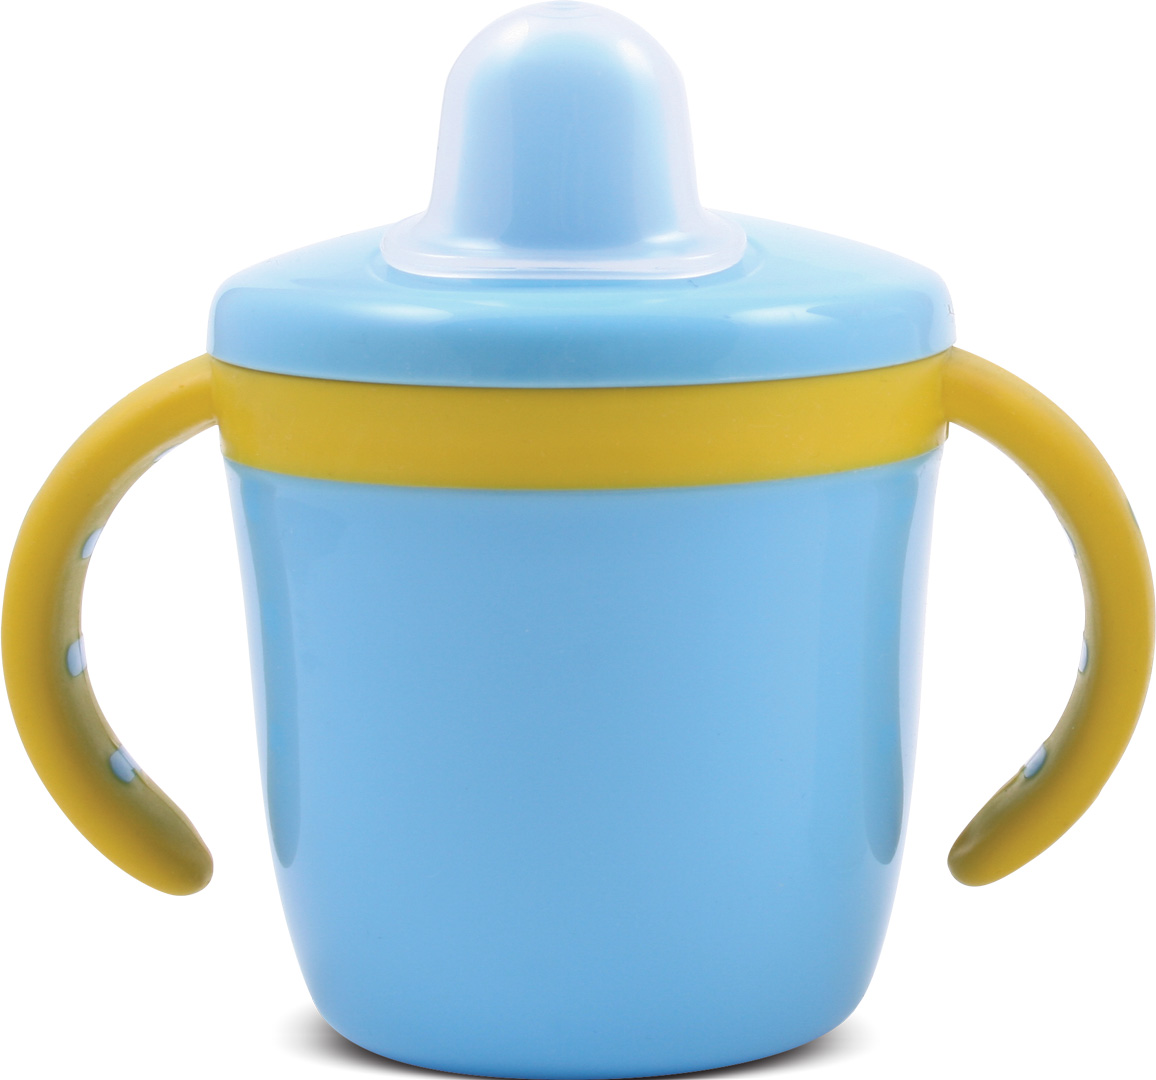
Baby’s first cup should be small so their little hands can hold it easily and raise it to their mouth.
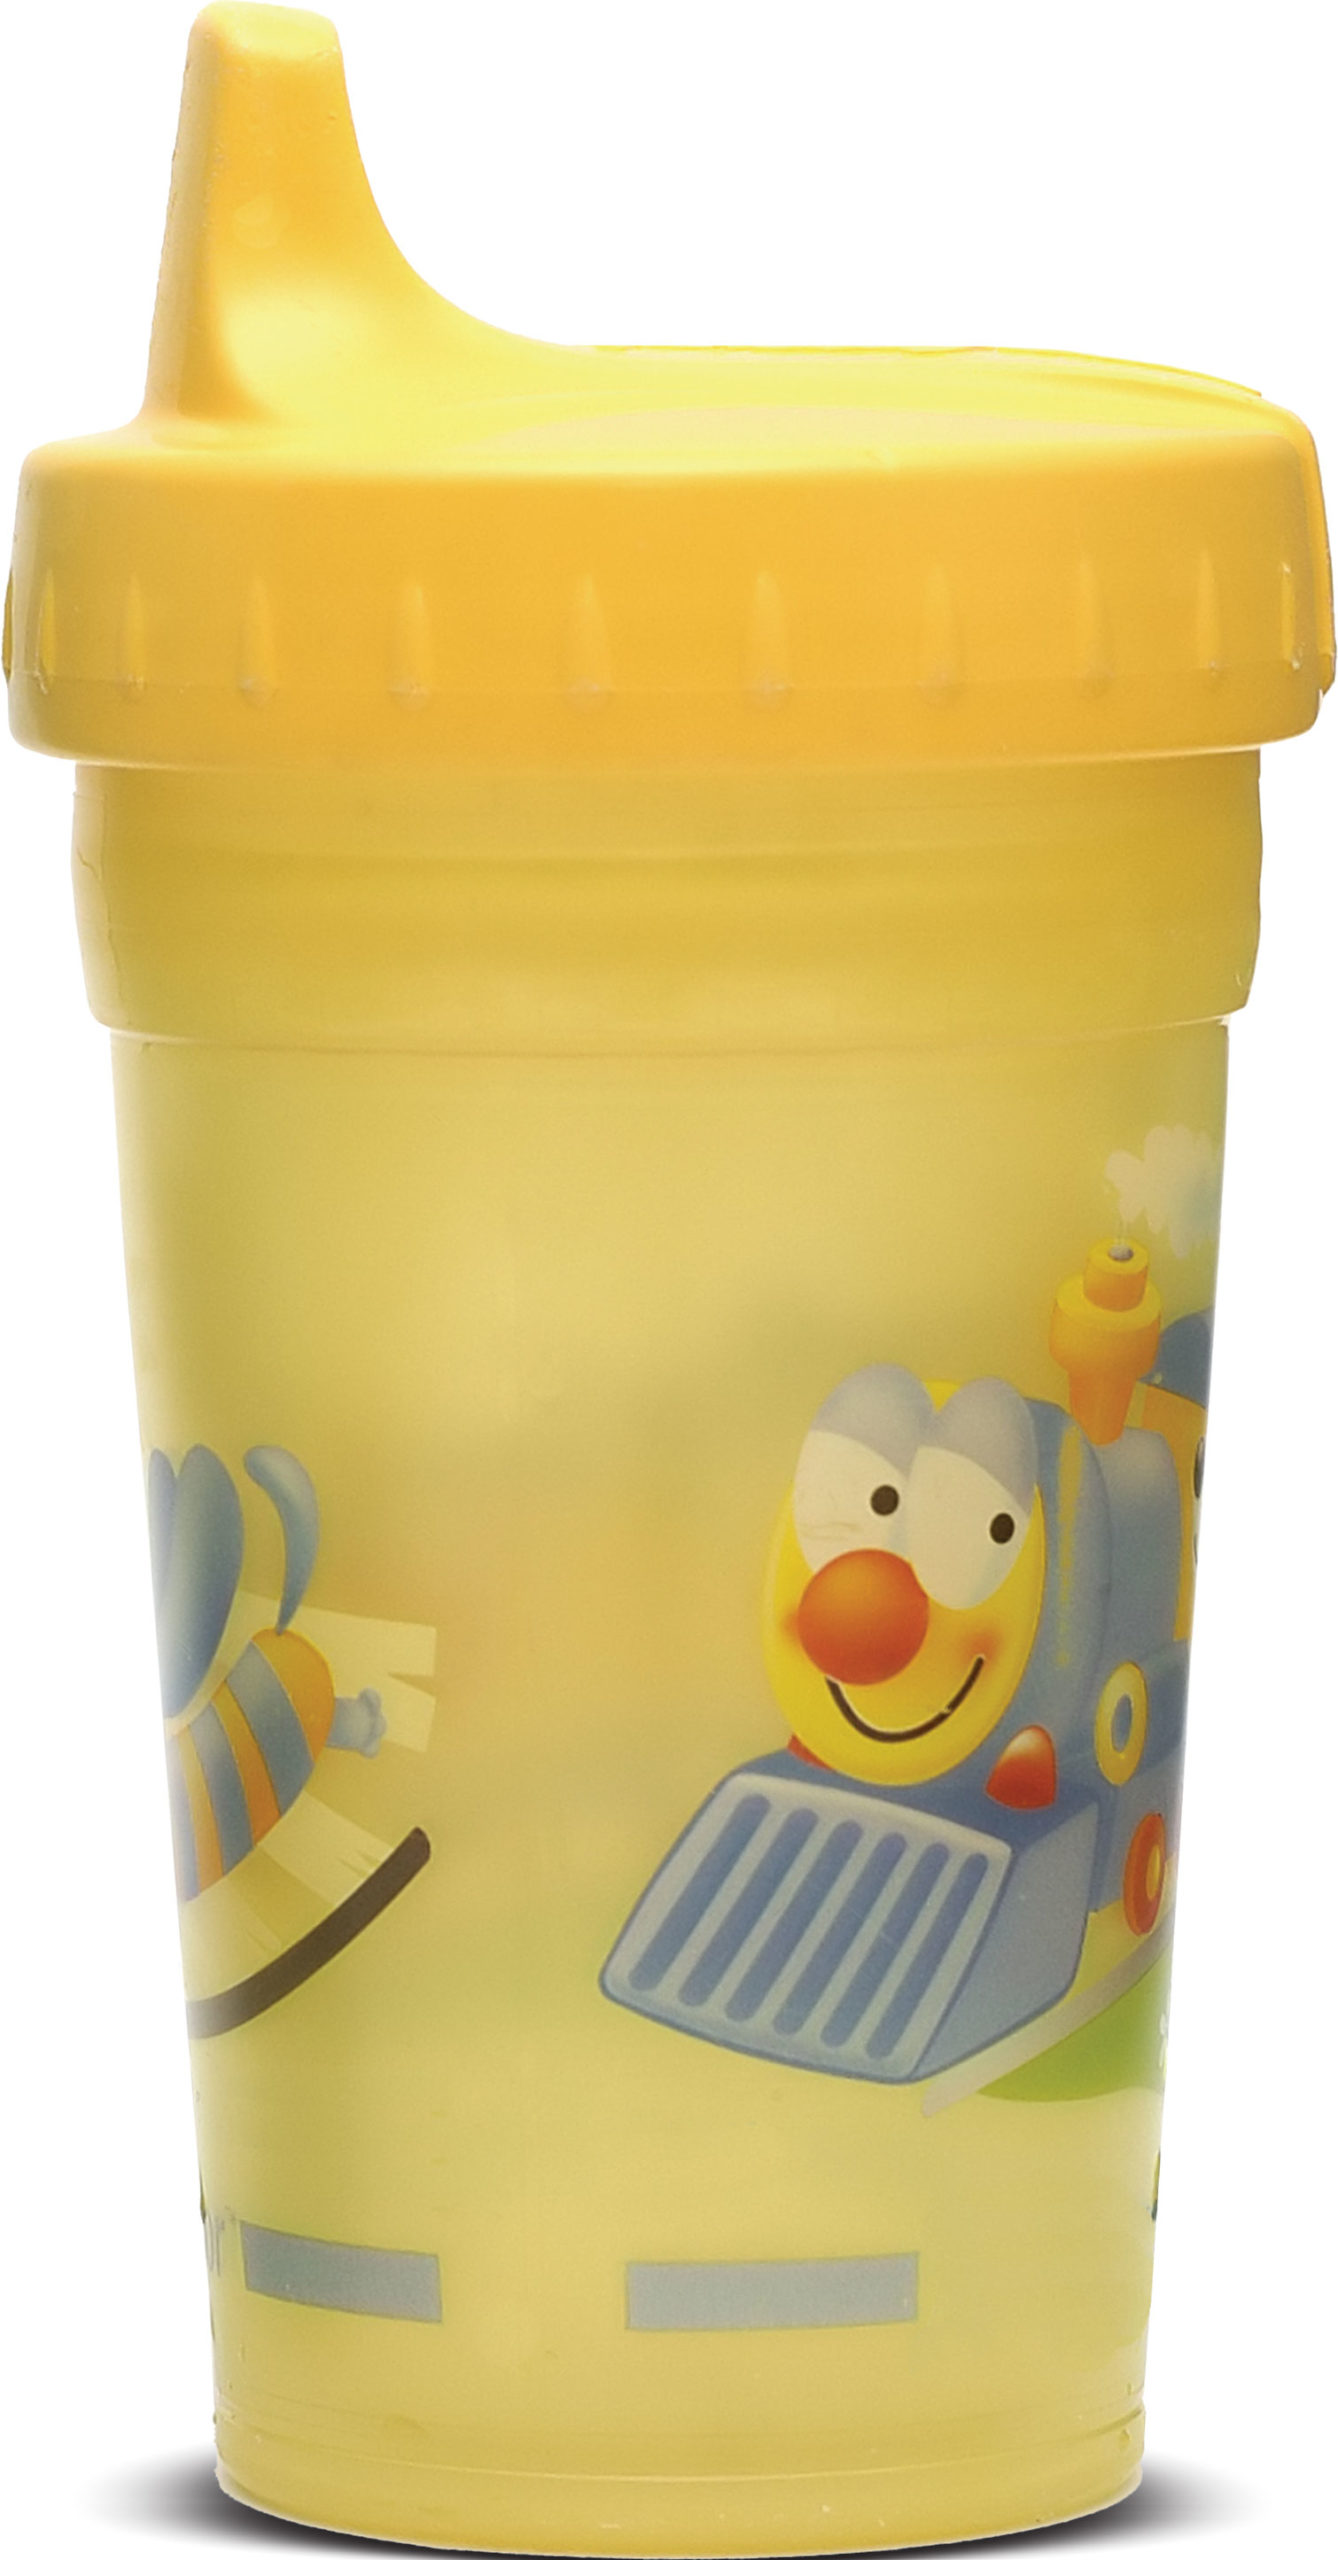
Some parents choose a “sippy” cup to cut down on drips and spills. That’s fine, but remove the ‘no spill gadget’ or ‘stopper’ from the spout so liquids can flow freely—this will help your baby learn the skills needed to drink from an open cup and limit their frustration.
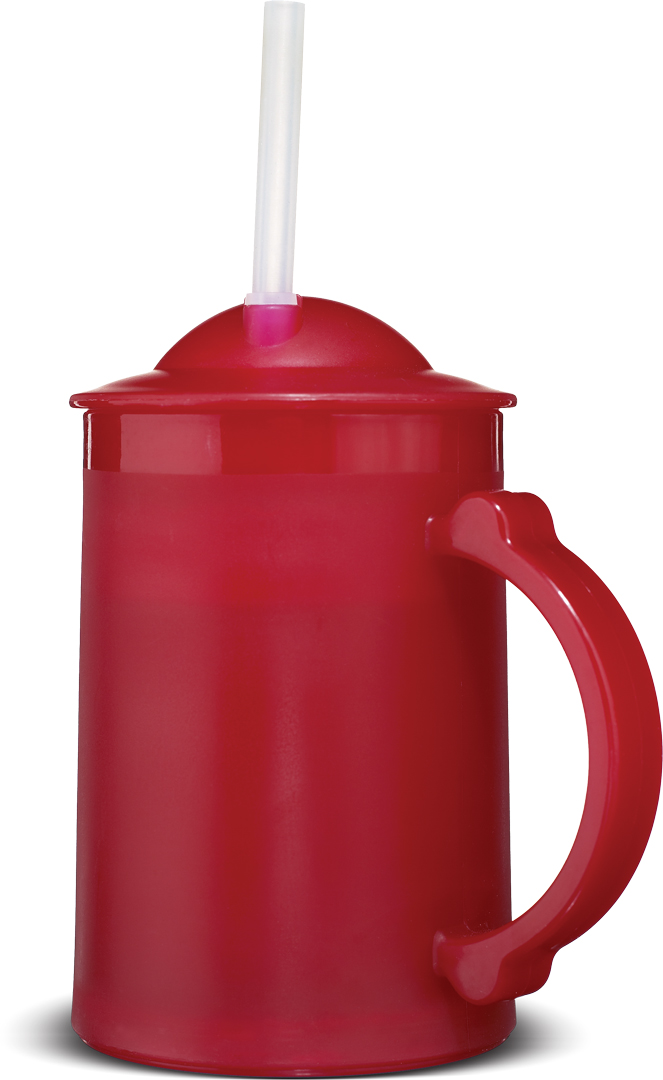
A straw cup is another good option. It helps strengthen the muscles in your baby’s mouth that make sounds, words and speech patterns.

Eventually, you will want to offer an open-top cup too.

Between 10 to 12 months, your baby will start to master the cup. This is the time to provide the cup at mealtime and snack instead of the bottle. By the time your baby is 12 to 15 months, they should be drinking all fluids from a cup. Bye-bye bottle!

What should I put in the cup?

You can start offering human milk, formula or water in the cup. Start out with one inch of liquid in the cup so if there are spills, it won’t be too messy. You can always refill the cup if your baby wants more. In the beginning, expect that your baby will spill or dribble some liquid from their mouth, but don’t worry, this is normal. Use a bib to keep their clothes clean.

If your baby isn’t interested in drinking from the cup, don’t force it. Let them smell and see what’s in the cup. Dip your (clean) finger in the drink and let them taste it. Always go slowly and help them take a sip by holding the cup and tilting it up to their mouth.

How do I offer a cup to my baby?

At first, you’ll want to offer the cup at meal times. Sit your baby upright, preferably strapped in a high chair. After you feed your baby a few bites of food, offer a sip or two from the cup. You can alternate spoon-feeding and sips of liquid from the cup throughout the meal. Once your baby gets the hang of drinking from a cup, use the cup at all meals and snacks.

THINGS TO AVOID

Teaching your baby how to drink from a cup is a milestone in the first year of life. Get started on time and enjoy watching your baby learn an important new skill!

Install this web app on your iPhone: tap ios-share and then Add to Home Screen.

SIDE-LYING HOLD

Side-Lying Hold

  1. For the right breast, lie on your right side with your baby facing you.
  2. Pull your baby close. Your baby’s mouth should be level with your nipple.
  3. In this position, you can cradle your baby’s back with your left arm and support yourself with your right arm and/or pillows.
  4. Keep loose clothing and bedding away from your baby.
  5. Reverse for the left breast.

This hold is useful when:

CROSS-CRADLE HOLD

Cross-Cradle Hold

  1. For the right breast, use your left arm to hold your baby’s head at your right breast and baby’s body toward your left side. A pillow across your lap can help support your left arm.
  2. Gently place your left hand behind your baby’s ears and neck, with your thumb and index finger behind each ear and your palm between baby’s shoulder blades. Turn your baby’s body toward yours so your tummies are touching.
  3. Hold your breast as if you are squeezing a sandwich. To protect your back, avoid leaning down to your baby. Instead, bring your baby to you.
  4. As your baby’s mouth opens, push gently with your left palm on baby’s head to help them latch on. Make sure you keep your fingers out of the way.
  5. Reverse for the left breast.

This hold is useful when:

CLUTCH OR “FOOTBALL” HOLD

Clutch or “Football” Hold

  1. For the right breast, hold your baby level, facing up, at your right side.
  2. Put your baby’s head near your right nipple and support their back and legs under your right arm.
  3. Hold the base of your baby’s head with your right palm. A pillow underneath your right arm can help support your baby’s weight.
  4. To protect your back, avoid leaning down to your baby. Bring baby to you instead.
  5. Reverse for the left breast.

This hold is useful when:

CRADLE HOLD

Cradle Hold

  1. For the right breast, cradle your baby with your right arm. Your baby will be on their left side across your lap, facing you at nipple level.
  2. Your baby’s head will rest on your right forearm with your baby’s back along your inner arm and palm.
  3. Turn your baby’s tummy toward your tummy. Your left hand is free to support your breast, if needed. Pillows can help support your arm and elbow.
  4. To protect your back, avoid leaning down to your baby. Instead, bring your baby to you.
  5. Reverse for the left breast.

This hold is useful when:

Laid-Back Hold

Laid-Back Hold

  1. Lean back on a pillow with your baby’s tummy touching yours and their head at breast level. Some moms find that sitting up nearly straight works well. Others prefer to lean back and lie almost flat.
  2. You can place your baby’s cheek near your breast, or you may want to use one hand to hold your breast near your baby. It’s up to you and what you think feels best.
  3. Your baby will naturally find your nipple, latch, and begin to suckle.

This hold is useful when: