Skip to Content Skip to Footer
Wyoming WIC
Wyoming WIC
  • Home
  • Women
    • Women
      Breastfeeding
    • Women
      Healthy Tips for Moms
    • Women
      Postpartum
    • Women
      Pregnant
  • Infants
    • Infants
      Feeding & Nutrition
    • Infants
      Growth & Development
  • Children
    • Children
      Toddlers
    • Children
      2-5 Year Olds
  • Families
    • Families
      Activity and Play
    • Families
      Dads
    • Families
      Food & Family Meals
    • Families
      Immunizations
    • Families
      Safety
  • Live Well Blog
  • Food Shopping Guide
  • Español

Eat This, Not That: A Guide to Baby Food

  • Home
  • Live Well Blog
  • Eat This, Not That: A Guide to Baby Food
Eat-This-Not-That-A-Guide-to-Baby-Food-QR-code
August 17, 2022 Infant

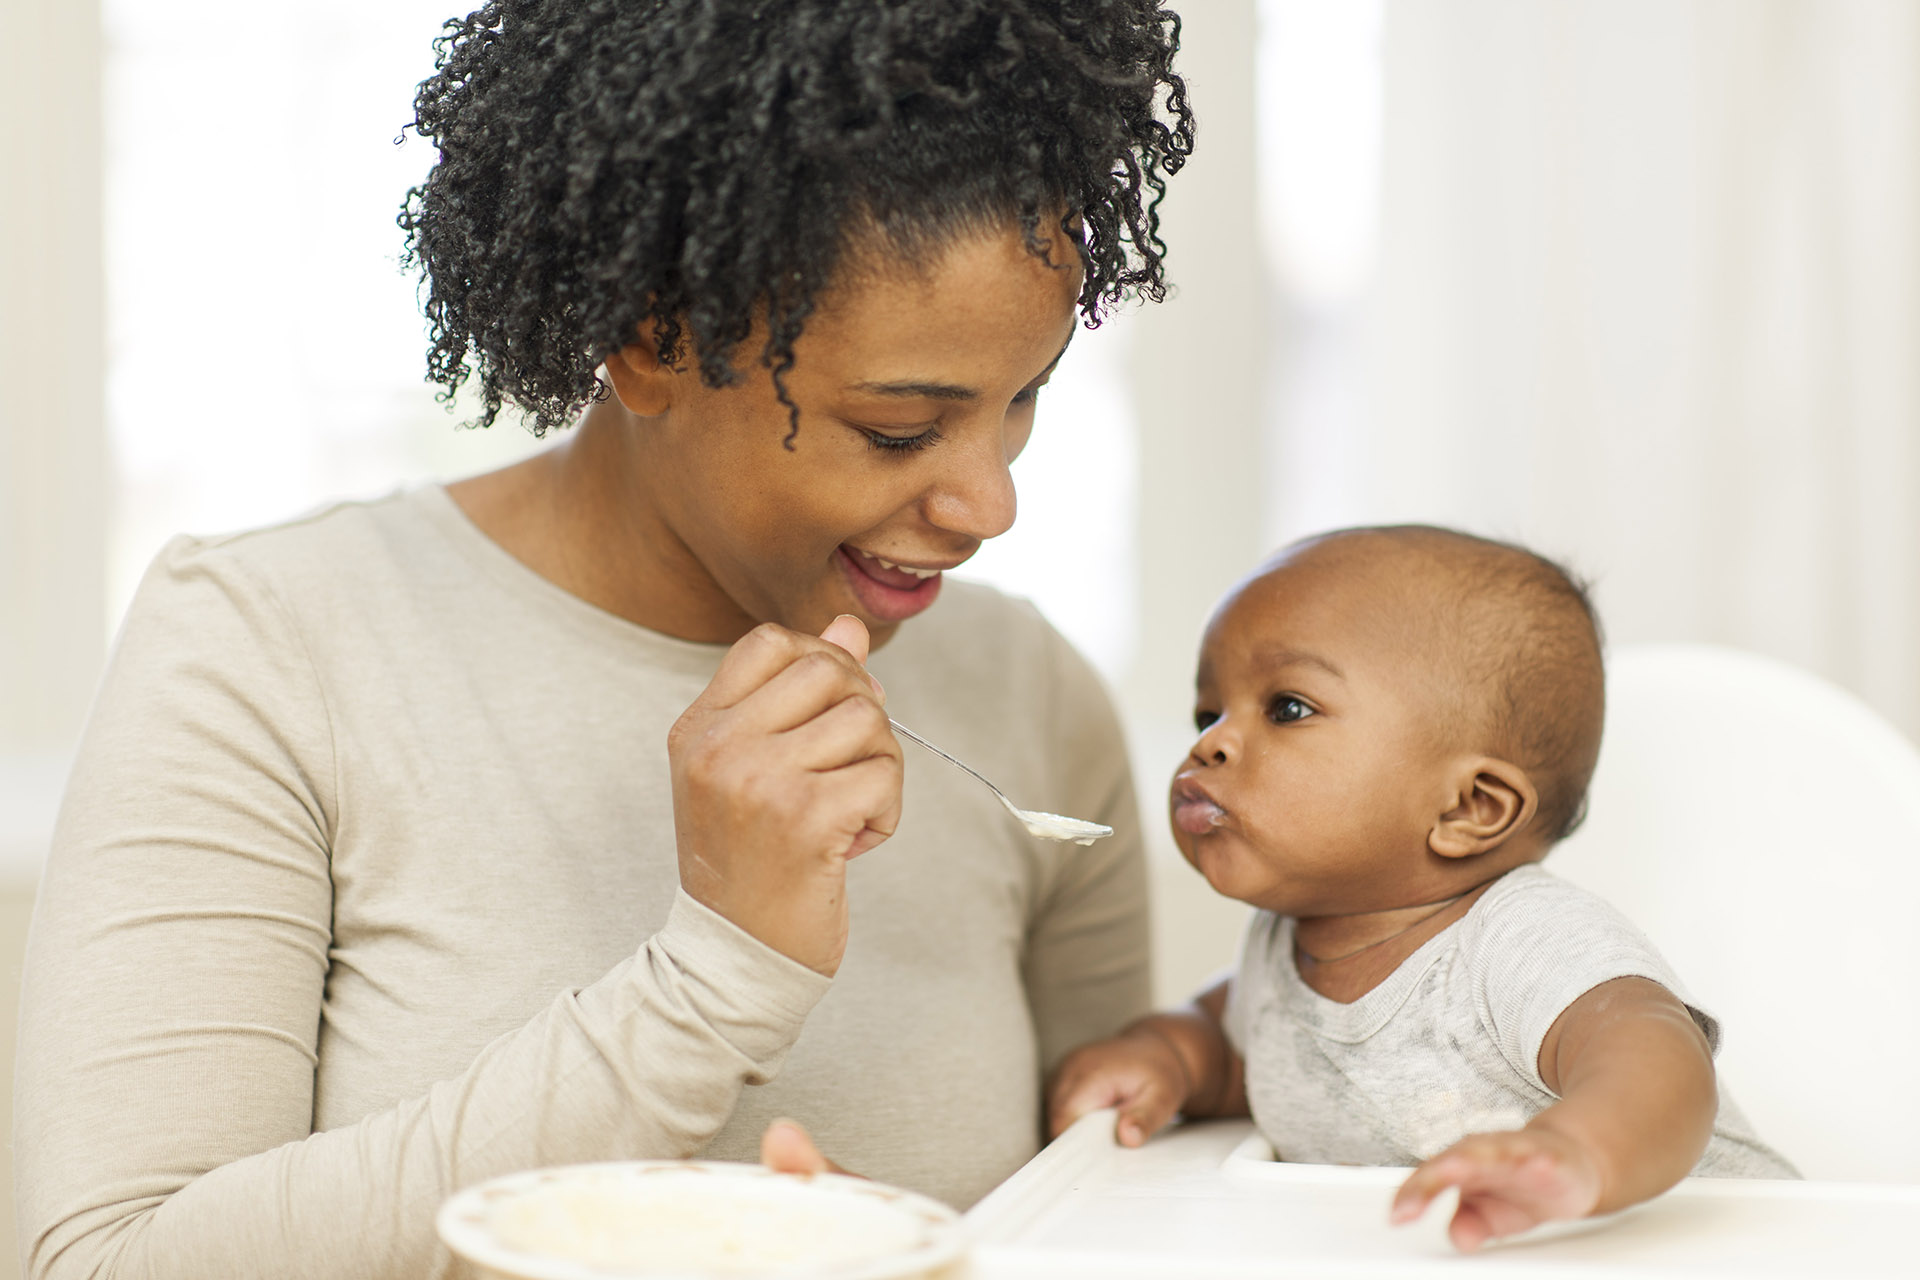
Starting to feed solids to your baby can be both exciting and scary. As a parent, it’s important to know what foods are safe to give to your baby depending on their age and development. It’s not always about your child’s age, but more so about their skills. According to the American Academy of Pediatrics, babies are usually ready to start feeding solids at around 4-6 months but it’s best to continue breastfeeding exclusively until at least 6 months.

Every baby is different and it’s important to pay attention to your baby’s cues and not rush into things. Starting solids too early puts your child at risk for food allergies and/or becoming overweight. Remember, your baby’s digestive system is still maturing, and studies show starting solids too early can cause more harm than good.

YOUR BABY IS READY TO START SOLIDS IF THEY:
  • Can sit upright with little or no assistance
  • Can hold up and control their head
  • Can control their tongue — doesn’t automatically push food out
  • Are interested in food — opens mouth when they see food

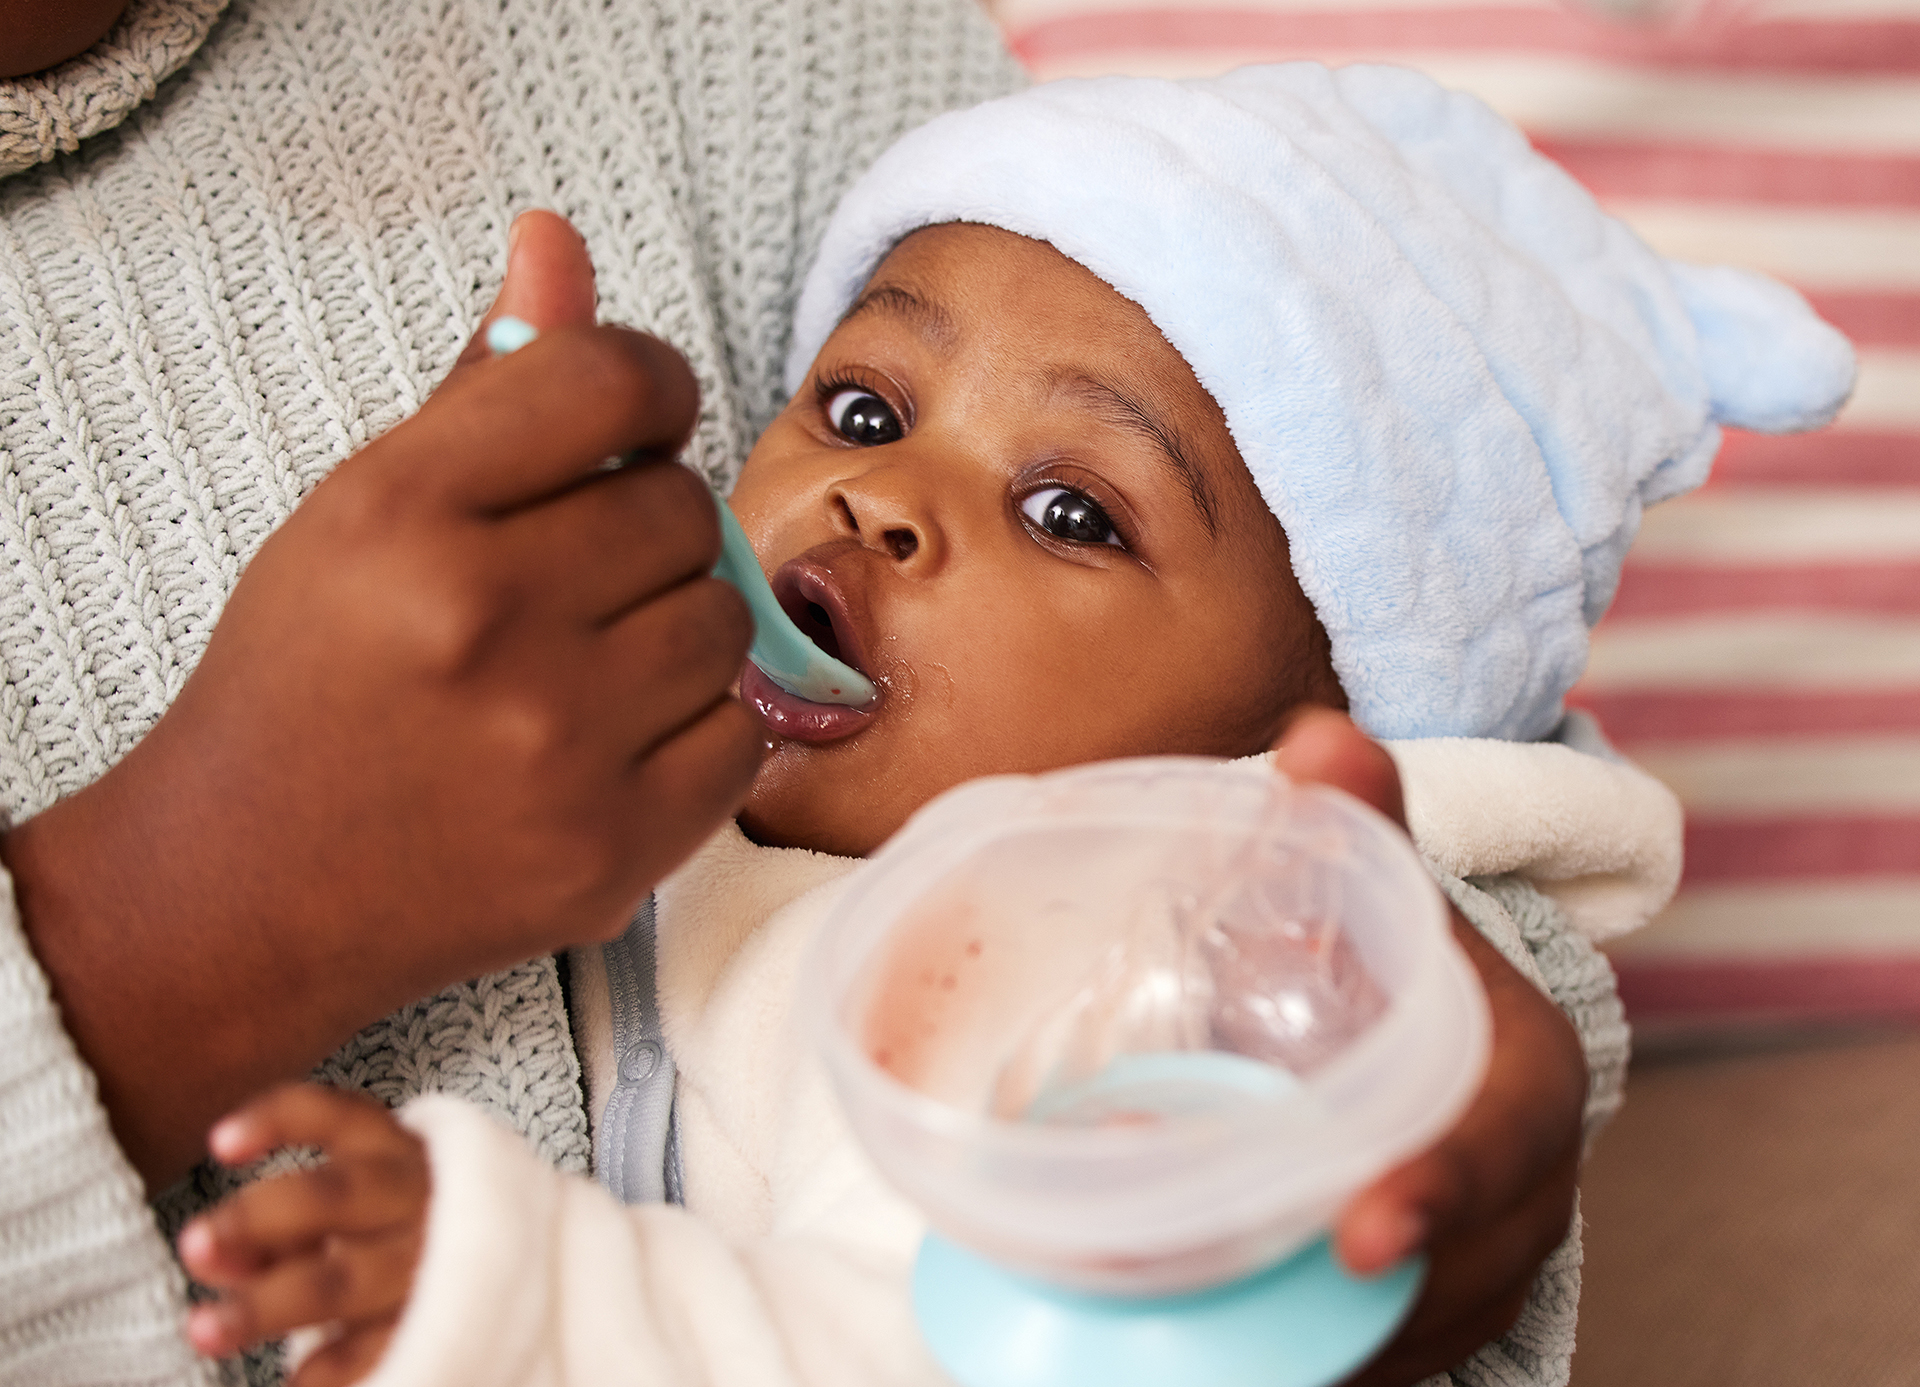
Starting solids means your baby gets to experiment with food using all their senses: touch, smell, sight, and taste. As a parent it’s important to make their first experience with food safe and successful. Choking, allergies, textures and food safety are all issues to consider when first giving solid foods to your baby. Below are guidelines to help your journey with solids be fun, safe, and successful.

5-7 MONTHS

  • ✓ Human milk is the best source of nutrition for your baby at this stage. Stick to either human milk or formula until your baby turns one year old. All other milks and beverages should be avoided as they lack the proper nutrients and your baby’s stomach is not ready to digest the proteins in cow’s milk.
  • ✓ When it comes to baby’s first food, the most important thing to consider is the texture – which should be smooth or pureed. Make sure to introduce one single-ingredient food at a time and wait 3-5 days before introducing new foods to look for signs of allergy.
  • ✓ Keep the food varied but as natural as possible. Honey should not be given to infants before 12 months due to the risk of infant botulism, a rare but deadly disease.

8-9 MONTHS

  • ✓ By 8-9 months your baby is probably showing signs they are ready to feed themself. The texture of their food will now include a variety of mashed or chopped up table food like whole grain pastas, yogurts, mashed or cut up fruits and veggies and soft meats.
  • ✓ Choking remains one of the leading causes of death in children under 3 years old, so a good rule of thumb when starting to introduce table food is to have food cut-up into “pea-sized pieces”.
  • ✓ Always watch your baby closely when they are eating and avoid giving them food in the car or while they are playing.
10-12 MONTHS
  • ✓ By this stage, your baby has more control over their jaw and they are able to chew better. Most table food is ok to give as long as it is cut up appropriately. Offer your baby plenty of different foods and allow them to get messy with their food.
  • ✓ The more variety you offer, the more likely they will be to try and accept new foods. Start creating healthy eating habits from the start. Don’t be afraid if they make a funny face. This is your baby’s way of saying “Hey, this tastes different!”.
  • ✓ The main point is to have fun, be safe and keep trying new foods!

Safe and Healthy Food Choices to Offer Your 6–12 month old

EAT THIS NOT THAT WHY?
Turkey slices, cut up chicken Hot dog Choking hazard.
Too much salt for baby.
Soft smooth peanut butter, spread thinly on cracker or toast or mixed with mashed fruit Peanuts, nuts Choking hazard. Avoid hard, round food such as nuts, hard candy and seeds. Also avoid sticky foods like chunky peanut butter or marshmallows which are hard to swallow. Allergy risk. If there is family history of food allergies talk to your pediatrician.
Grapes cut up “pea-sized” Raisins/dried fruit, whole grapes or cherries Choking hazard.
Human milk, infant formula or water Cow’s milk, soy milk, rice milk; sweet drinks like juice, tea, soda or punch Lacks proper nutrition and hard to digest.
Risk of obesity. Limit juice to 4 oz a day.
Applesauce, mashed banana Honey Risk of infant botulism.
Cereals (cheerios/puffs) Popcorn, tortilla chips, hard candies Choking hazard.
Pasteurized milk products (yogurt, cut up cheese) Unpasteurized milk
products
Risk of food borne illness.
Cooked or soft veggies - mashed/chopped broccoli/carrots Raw carrots, celery Choking hazard.
Cooked boneless fish, mashed beans, chopped egg Raw/undercooked meats or fish Risk of food borne infection.
Soft, ripe fruits - seedless watermelon, strawberries, cut mango, soft peaches, melon Hard fruits (apple, unripe pear) Choking hazard.
Animal crackers, whole grain crackers Cookies Lacks proper nutrition.
  • Infant
    • The Basics of Paced Bottle-Feeding
    • How Do I Know If My Baby Could Be Tongue-Tied?
    • Protect Your Baby from Cronobacter
    • Exploring the World with Baby – Sensory Play
    • Get Your Baby “Back” to Sleep in a Safe Environment
  • Children
    • Shopping With Kids: A Simple Way to Help Them Like More Foods
    • Pumpkin Fun: Free and Healthy Activities for Kids Under 5
    • Letting Your Child Play with Food Can Be a Good Thing
    • Is Snack Time Treat Time?
    • Fun Ways to Learn About Healthy Food and Get Moving!
  • General /Family
    • The 2025-2030 Dietary Guidelines for Americans – What Families Need to Know
    • Finding Calm When Life Gets Busy: Stress-Management for Parents
    • February Is National Heart Month: Simple Ways to Show Your Heart Some Love
    • 10 Ways to Enjoy Avocados – And Helpful Tips to Feed with Confidence
    • Food, Feelings, and Finding Balance: Understanding Disordered Eating
  • Women
    • Newborn Hunger Cues: How to Know When Your Baby Is Hungry or Full
    • How to Know Your Baby Is Getting Enough Breastmilk
    • Breastfeeding Through Growth Spurts and Sleep Changes
    • Baby Blues… or Is It Something More?
    • Gut Health and Gestational Diabetes
  • Recipes
    • Heart-Healthy Recipe: Banana Berry Oatmeal Cups
    • Is the Chia Seed Challenge Worth It?
    • Extra Vegetables Quiche
    • Easy Pumpkin Muffins
    • Confetti Bean Salad
Wyoming WIC WDH Public Health

CONTACT US

1-888-996-9378
health.wyo.gov/wic
  • How to apply for WIC

Resources

  • WIC Shopper
  • WIC Smart
  • WIC Breastfeeding Support
  • Wyoming Medicaid
  • Wyoming 211
  • Tell a friend about WIC!
  • Guide to Using Your WIC Benefits
  • Wyoming WIC Facebook
  • Wyoming WIC Instagram
  • Wyoming WIC

USDA is an equal opportunity provider, employer, and lender.

Cookie PolicyPrivacy Policy

© Brush Art Corporation
This website is operated by Brush Art Corporation on behalf of the Wyoming Department of Health.

Install this web app on your iPhone: tap and then Add to Home Screen.

SIDE-LYING HOLD

Side-Lying Hold

  1. For the right breast, lie on your right side with your baby facing you.
  2. Pull your baby close. Your baby’s mouth should be level with your nipple.
  3. In this position, you can cradle your baby’s back with your left arm and support yourself with your right arm and/or pillows.
  4. Keep loose clothing and bedding away from your baby.
  5. Reverse for the left breast.

This hold is useful when:

  • You had a C-section
  • You want to rest while baby feeds
  • You are breastfeeding in the middle of the night
  • You and your baby are comfortable in this position
CROSS-CRADLE HOLD

Cross-Cradle Hold

  1. For the right breast, use your left arm to hold your baby’s head at your right breast and baby’s body toward your left side. A pillow across your lap can help support your left arm.
  2. Gently place your left hand behind your baby’s ears and neck, with your thumb and index finger behind each ear and your palm between baby’s shoulder blades. Turn your baby’s body toward yours so your tummies are touching.
  3. Hold your breast as if you are squeezing a sandwich. To protect your back, avoid leaning down to your baby. Instead, bring your baby to you.
  4. As your baby’s mouth opens, push gently with your left palm on baby’s head to help them latch on. Make sure you keep your fingers out of the way.
  5. Reverse for the left breast.

This hold is useful when:

  • Your baby is premature
  • Your baby has a weak suck
  • Your baby needs help to stay latched
  • Your baby needs extra head support
  • You and your baby are comfortable in this position
CLUTCH OR “FOOTBALL” HOLD

Clutch or “Football” Hold

  1. For the right breast, hold your baby level, facing up, at your right side.
  2. Put your baby’s head near your right nipple and support their back and legs under your right arm.
  3. Hold the base of your baby’s head with your right palm. A pillow underneath your right arm can help support your baby’s weight.
  4. To protect your back, avoid leaning down to your baby. Bring baby to you instead.
  5. Reverse for the left breast.

This hold is useful when:

  • You had a C-section
  • You have large breasts
  • You have flat or inverted nipples
  • You have a strong milk let-down
  • You are breastfeeding twins
  • Your baby likes to feed in an upright position
  • Your baby has reflux
  • You and your baby are comfortable in this position
CRADLE HOLD

Cradle Hold

  1. For the right breast, cradle your baby with your right arm. Your baby will be on their left side across your lap, facing you at nipple level.
  2. Your baby’s head will rest on your right forearm with your baby’s back along your inner arm and palm.
  3. Turn your baby’s tummy toward your tummy. Your left hand is free to support your breast, if needed. Pillows can help support your arm and elbow.
  4. To protect your back, avoid leaning down to your baby. Instead, bring your baby to you.
  5. Reverse for the left breast.

This hold is useful when:

  • Your baby needs help latching on
  • You and your baby are comfortable in this position
Laid-Back Hold

Laid-Back Hold

  1. Lean back on a pillow with your baby’s tummy touching yours and their head at breast level. Some moms find that sitting up nearly straight works well. Others prefer to lean back and lie almost flat.
  2. You can place your baby’s cheek near your breast, or you may want to use one hand to hold your breast near your baby. It’s up to you and what you think feels best.
  3. Your baby will naturally find your nipple, latch, and begin to suckle.

This hold is useful when:

  • Your baby is placed on your chest right after birth
  • You have a strong milk let-down
  • You have large breasts
  • You and your baby are comfortable in this position