
Skip to Content Skip to Footer
Wyoming WIC
Wyoming WIC
  • Home
  • Women
    • Women
      Breastfeeding
    • Women
      Healthy Tips for Moms
    • Women
      Postpartum
    • Women
      Pregnant
  • Infants
    • Infants
      Feeding & Nutrition
    • Infants
      Growth & Development
  • Children
    • Children
      Toddlers
    • Children
      2-5 Year Olds
  • Families
    • Families
      Activity and Play
    • Families
      Dads
    • Families
      Food & Family Meals
    • Families
      Immunizations
    • Families
      Safety
  • Content Suite
  • Food Shopping Guide
  • Español
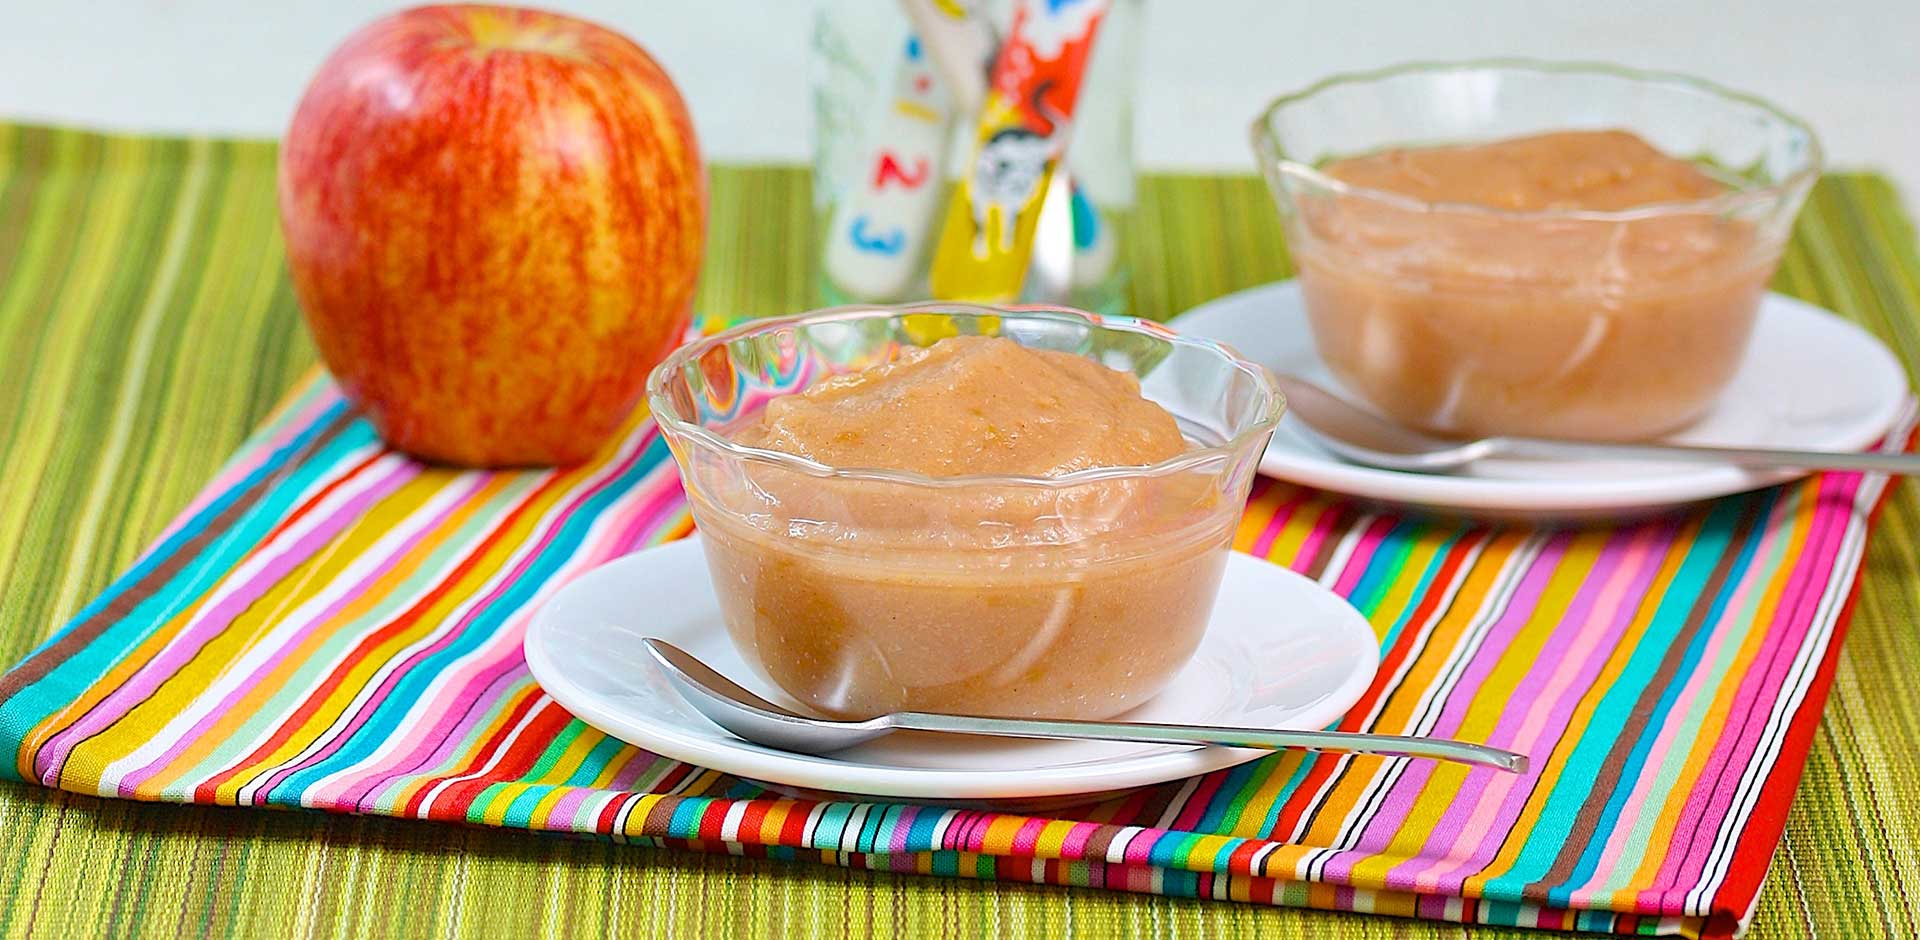
Applesauce bowls with apple on colorful tablecloth

Autumn Apple Appeal: Homemade Apple Pear Sauce

  • Home
  • Content Suite
  • Autumn Apple Appeal: Homemade Apple Pear Sauce
Black QR code for scanning on WIC Resources
September 7, 2022 General /FamilyRecipes

Juicy, crunchy, sour, or sweet, apples in autumn are the perfect family treat! Whether you bake them in a pie, slice them for a lunch box snack, or use them for our easy applesauce, apples pack great nutrition into every delicious bite. One medium apple has just 95 calories and 4 grams of filling fiber, and now that they’re in season, their flavor is at its peak.

Most of the vitamins, minerals, and fiber found in apples is actually in the peel, so we leave the peels on for this simple, stovetop recipe. Once blended, the cooked peels virtually disappear. Sweet soft apples such as McIntosh and Gala work best in this naturally sweet applesauce, and their red peels add a nice rosy color.
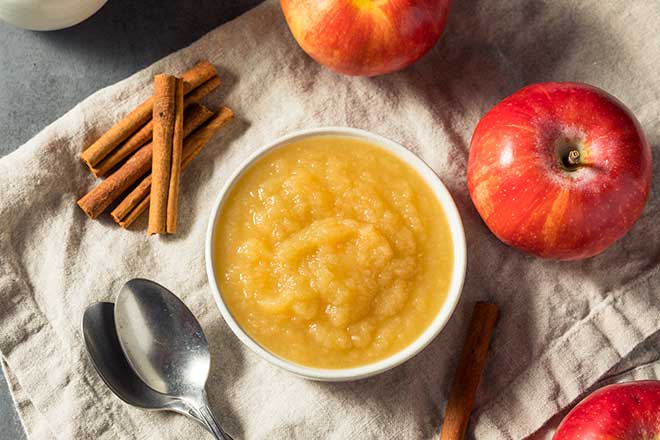
Bowl of applesauce with cinnamon sticks and apples

Homemade Apple Pear Sauce

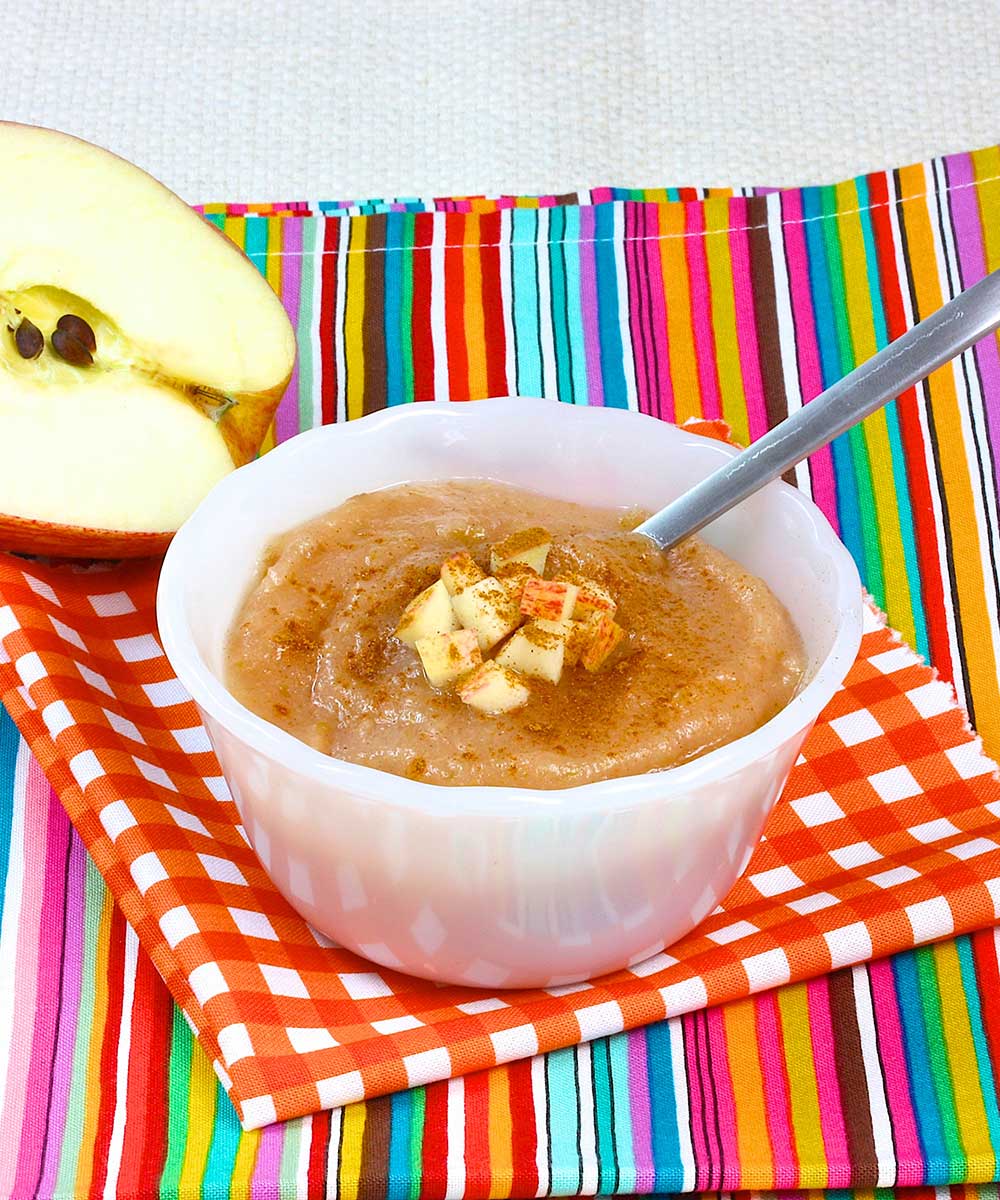
Applesauce bowl on colorful napkin with spoon

MAKES 4 SERVINGS

  • 3 large apples (about 1½ pounds), unpeeled and cut into ½-inch pieces
  • 1 pear, unpeeled and cut into ½-inch pieces
  • ½ cup 100% apple juice
  • Juice of half a lemon (about 2 tablespoons)
  • ¼ teaspoon ground cinnamon
  • Place the apples, pears, apple juice, lemon juice, and cinnamon in a medium pot and stir to combine. Place over medium-high heat, cover, and bring to a boil. Lower the heat and cook at a low boil, covered, until the apples are very tender, about 25 minutes. Stir occasionally. Let cool about 20 minutes.
  • Place the cooked fruit in a blender and blend until smooth and the peels are incorporated. (If you don’t have a blender and plan to mash the fruit with a fork or potato masher, you may want to slice off the peels first before cooking for a nice, smooth texture.)
Tip: Don’t have a ripe pear on hand? Not to worry! Add an extra apple instead or 1 cup of fresh or frozen strawberries.
star
Nutrition Information per Serving (1/2 cup): 140 calories, 0g fat, 5mg sodium, 36g carbohydrate, 6g fiber, 1g protein, 20% vitamin C
Choosing & Storing Fresh Apples

Autumn is apple season, and with 7,500 kinds of apples to choose from around the world, there’s a favorite apple out there for everyone. Most apples in the United States are grown in Washington, Michigan and Pennsylvania, but this favorite fall fruit is easy to find wherever you live. To keep autumn apples looking and tasting their best, follow these tips:

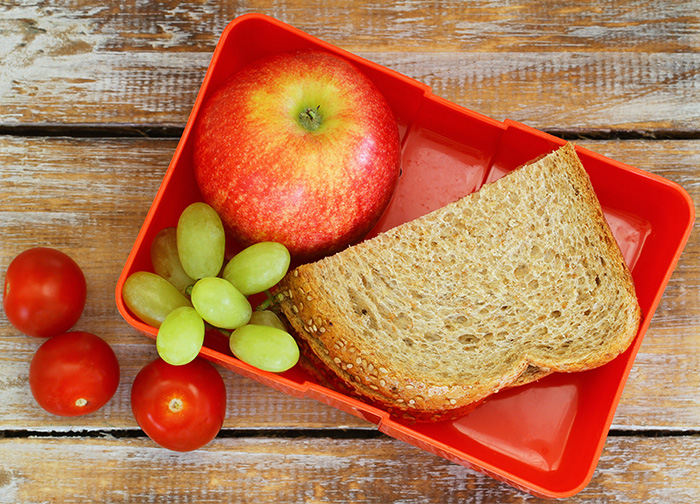
Lunchbox with sandwich, apple, grapes, and tomatoes
Person selecting apples at a grocery store display

HOW TO CHOOSE

At the market, look for brightly colored apples, and stay away from apples that are dull or have brown spots. To avoid mushy, mealy apples, squeeze lightly to make sure they are firm.

HOW TO STORE

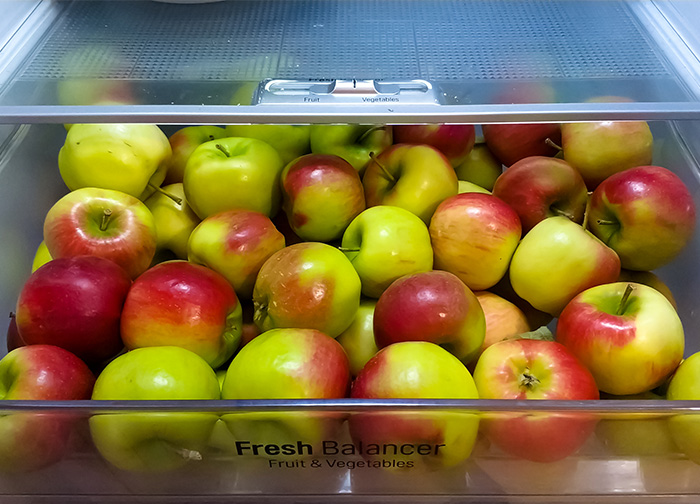
Apples stay fresher for longer if you store them in the refrigerator. Even though they may look pretty when displayed on your kitchen countertop, this speeds up the ripening process.

Refrigerator drawer filled with red and green apples
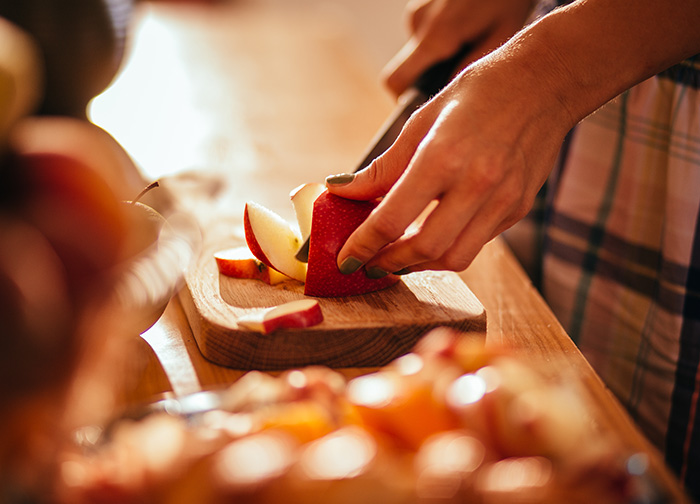
Person slicing apple on wooden cutting board

HOW TO EAT

Apples turn brown quickly after they’ve been sliced, which quickly makes them unappealing to kids. To prevent browning, squeeze fresh or bottled lemon juice over the slices before you store them in a container or zip-top baggie.

Do you find this Blog helpful?

Show some love here!

SMS Communication Consent

No comments yet. Be the first to share your thoughts!

Scroll To Top

You May Also Like...

October 14, 2026

Boo-Berry Yogurt Cups: Easy Halloween Snack for Kids

Boo-Berry Yogurt Cups A frightfully fun snack! Halloween can be full of surprises and snack time can be, too! With creamy yogurt, colorful fruit, and a few silly faces, you…

Read More
0
1
September 16, 2026

Kid-Friendly Apple Cinnamon Oat Cups | WIC Recipe

Apple Cinnamon Oat Cups: A Kid-Friendly Taste of Fall September often brings busy mornings, new school routines, and the first hints of fall. It’s also a great time to enjoy…

Read More
0
1
September 2, 2026

Protecting Your Family from Cyclospora: Summer Food & Water Safety

How to Protect Your Family from Cyclospora Food safety is always a hot topic in the summer; rising temperatures means more bacteria growth when food isn’t handled properly. And when…

Read More
0
0
WATCH VIDEOS
  • Infant
    • Infant Pacifiers: Benefits, Safety Tips, and When to Wean
    • When to Start Peanut and Egg to Help Prevent Allergies
    • The Basics of Paced Bottle-Feeding
    • How Do I Know If My Baby Could Be Tongue-Tied?
    • Protect Your Baby from Cronobacter
  • Children
    • Food, Feelings, and Your Child’s Health | How Nutrition Affects Mood
    • Simple Child Safety Tips Every Parent Should Know
    • Shopping With Kids: A Simple Way to Help Them Like More Foods
    • Pumpkin Fun: Free and Healthy Activities for Kids Under 5
    • Letting Your Child Play with Food Can Be a Good Thing
  • General /Family
    • Kid-Friendly Apple Cinnamon Oat Cups | WIC Recipe
    • Protecting Your Family from Cyclospora: Summer Food & Water Safety
    • The Benefits of Family Meals for Kids and Parents
    • Meet the Milks: Dairy and Plant-Based Choices
    • Avoiding Food Waste
  • Women
    • Breastfeeding After a C-Section: Tips for WIC Moms
    • Breastfeeding Nipple Pain: What’s Normal and When to Get Help
    • Cluster Feeding Explained | WIC Breastfeeding Support
    • Breastfeeding Support Available Through WIC | Pumps, Peer Counselors & More
    • How Partners Can Support Breastfeeding
  • Recipes
    • Boo-Berry Yogurt Cups: Easy Halloween Snack for Kids
    • Rainbow Fruit Salsa with Cinnamon Chips | Healthy Family Snack Recipe
    • Healthy Red, White, and Blue Snacks for Kids
    • Simple Meals with Canned Fish: Easy, Healthy & Budget-Friendly Ideas
    • Fresh & Easy Spring Snacks for Toddlers
Wyoming WIC WDH Public Health

CONTACT US

1-888-996-9378
health.wyo.gov/wic
  • How to apply for WIC

Resources

  • WIC Shopper
  • WIC Smart
  • WIC Breastfeeding Support
  • Wyoming Medicaid
  • Wyoming 211
  • Tell a friend about WIC!
  • Guide to Using Your WIC Benefits
  • Wyoming WIC Facebook
  • Wyoming WIC Instagram
  • Wyoming WIC

USDA is an equal opportunity provider, employer, and lender.

Cookie PolicyPrivacy Policy

© Brush Art Corporation
This website is operated by Brush Art Corporation on behalf of the Wyoming Department of Health.

Install this web app on your iPhone: tap and then Add to Home Screen.

Share to Social

Share this link via

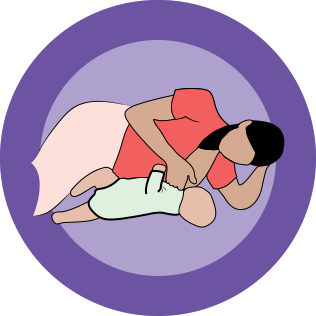
SIDE-LYING HOLD

Side-Lying Hold

  1. For the right breast, lie on your right side with your baby facing you.
  2. Pull your baby close. Your baby’s mouth should be level with your nipple.
  3. In this position, you can cradle your baby’s back with your left arm and support yourself with your right arm and/or pillows.
  4. Keep loose clothing and bedding away from your baby.
  5. Reverse for the left breast.

This hold is useful when:

  • You had a C-section
  • You want to rest while baby feeds
  • You are breastfeeding in the middle of the night
  • You and your baby are comfortable in this position
CROSS-CRADLE HOLD

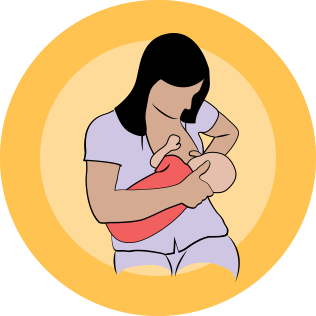
Cross-Cradle Hold

  1. For the right breast, use your left arm to hold your baby’s head at your right breast and baby’s body toward your left side. A pillow across your lap can help support your left arm.
  2. Gently place your left hand behind your baby’s ears and neck, with your thumb and index finger behind each ear and your palm between baby’s shoulder blades. Turn your baby’s body toward yours so your tummies are touching.
  3. Hold your breast as if you are squeezing a sandwich. To protect your back, avoid leaning down to your baby. Instead, bring your baby to you.
  4. As your baby’s mouth opens, push gently with your left palm on baby’s head to help them latch on. Make sure you keep your fingers out of the way.
  5. Reverse for the left breast.

This hold is useful when:

  • Your baby is premature
  • Your baby has a weak suck
  • Your baby needs help to stay latched
  • Your baby needs extra head support
  • You and your baby are comfortable in this position
CLUTCH OR “FOOTBALL” HOLD

Clutch or “Football” Hold

  1. For the right breast, hold your baby level, facing up, at your right side.
  2. Put your baby’s head near your right nipple and support their back and legs under your right arm.
  3. Hold the base of your baby’s head with your right palm. A pillow underneath your right arm can help support your baby’s weight.
  4. To protect your back, avoid leaning down to your baby. Bring baby to you instead.
  5. Reverse for the left breast.

This hold is useful when:

  • You had a C-section
  • You have large breasts
  • You have flat or inverted nipples
  • You have a strong milk let-down
  • You are breastfeeding twins
  • Your baby likes to feed in an upright position
  • Your baby has reflux
  • You and your baby are comfortable in this position
CRADLE HOLD

Cradle Hold

  1. For the right breast, cradle your baby with your right arm. Your baby will be on their left side across your lap, facing you at nipple level.
  2. Your baby’s head will rest on your right forearm with your baby’s back along your inner arm and palm.
  3. Turn your baby’s tummy toward your tummy. Your left hand is free to support your breast, if needed. Pillows can help support your arm and elbow.
  4. To protect your back, avoid leaning down to your baby. Instead, bring your baby to you.
  5. Reverse for the left breast.

This hold is useful when:

  • Your baby needs help latching on
  • You and your baby are comfortable in this position
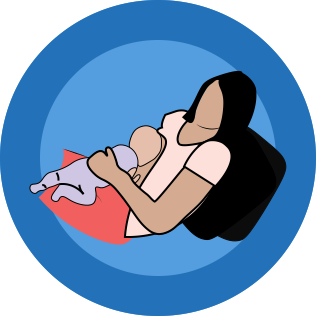
Laid-Back Hold

Laid-Back Hold

  1. Lean back on a pillow with your baby’s tummy touching yours and their head at breast level. Some moms find that sitting up nearly straight works well. Others prefer to lean back and lie almost flat.
  2. You can place your baby’s cheek near your breast, or you may want to use one hand to hold your breast near your baby. It’s up to you and what you think feels best.
  3. Your baby will naturally find your nipple, latch, and begin to suckle.

This hold is useful when:

  • Your baby is placed on your chest right after birth
  • You have a strong milk let-down
  • You have large breasts
  • You and your baby are comfortable in this position