To keep up the healthy habit of eating fruits and vegetables every day you need a little planning and preparation, especially on a budget. Follow these tips to get the most bang for your buck.
Simple Tips for Buying Fruits and Vegetables on a Budget
Tip #1
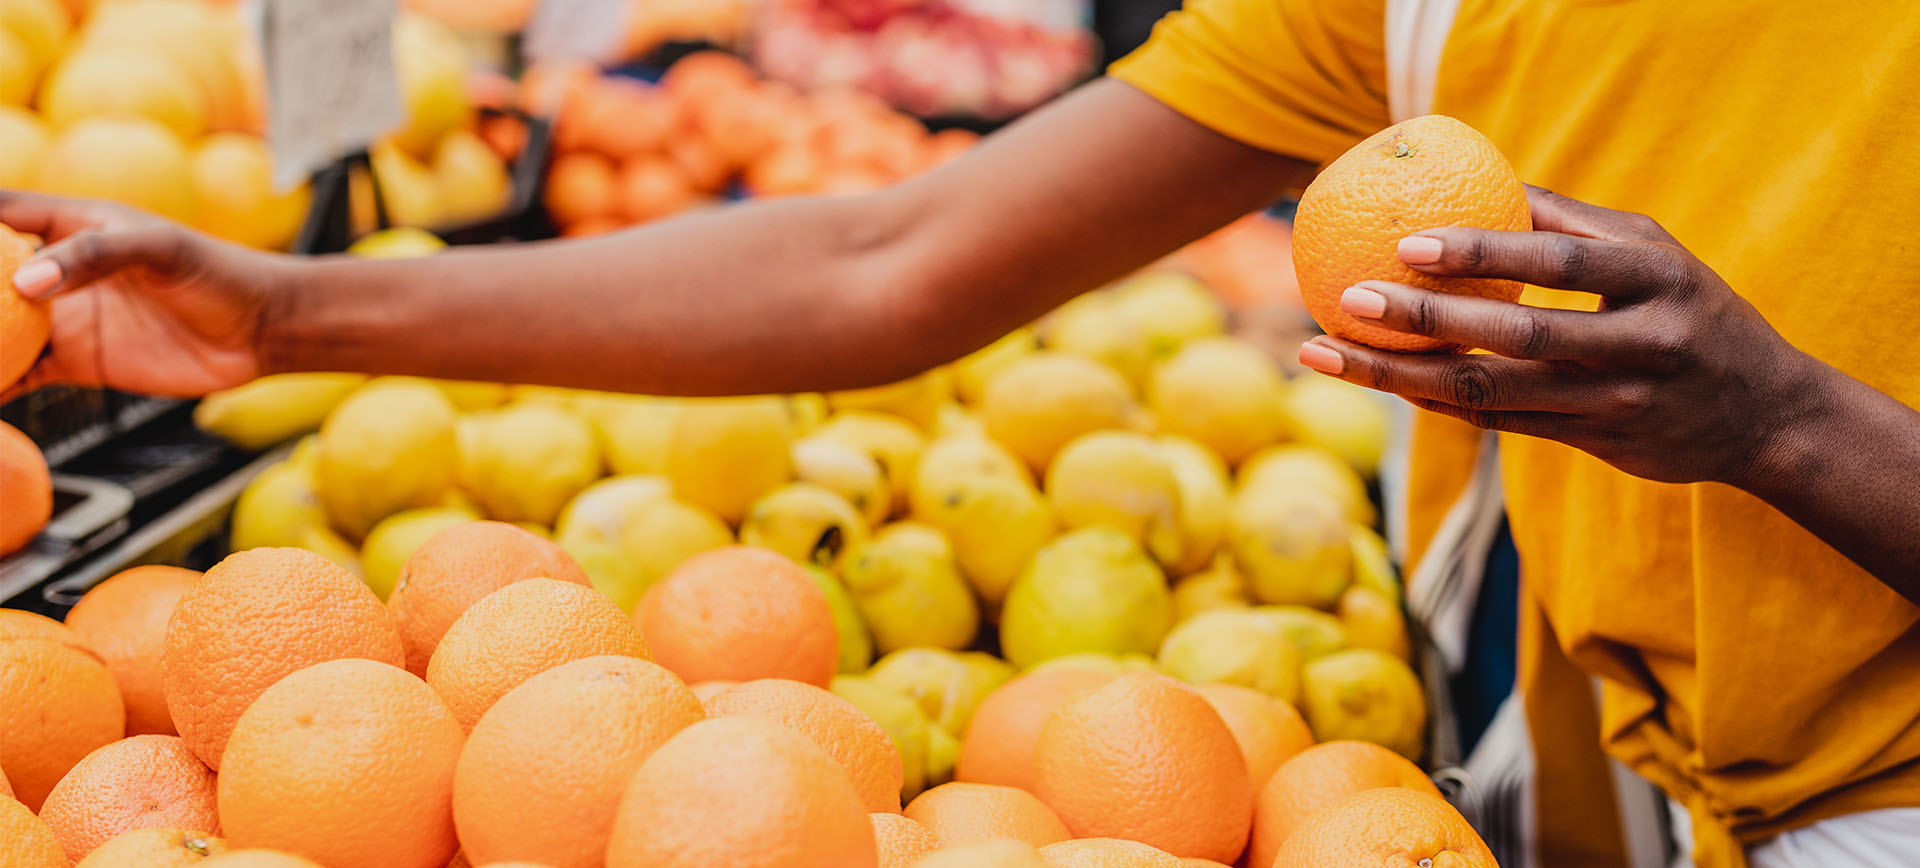
Save money when buying in season and on sale
Fresh produce costs less and taste better when bought during its growing season.
Plan your menu around which fruits and vegetables are on sale. Check the weekly grocery store ads before you shop.
If you can afford it, buy extra when it’s on sale and freeze some to enjoy later.
Some produce is affordable year-round
Apples, bananas, broccoli, cabbage, carrots, and lettuce are easy to find all year and usually cost less than $2 a pound.
Tip #2
Tip #3
Buy frozen or canned fruits and vegetables
When you can’t buy fresh, buy frozen or canned fruits and vegetables. They can be just as nutritious as fresh foods, and make cooking easier.
Look for natural foods: without added sugar, salt, sauces, syrup or fat.
Drain and rinse canned vegetables to get rid of excess salt.
Check store brands — they often cost less and taste the same.
Watch expiration dates and store the oldest where it can be used first.
Buy Local
Buy local for better taste and to save money. Check out local farmers’ markets, on-farm markets, community supported agriculture and food hubs — they can be a fun family activity too! Some farmers’ markets accept WIC vouchers and Supplemental Nutrition Assistance Program (SNAP) benefits. Find one online at https://www.usdalocalfoodportal.com/.
Tip #4
Tip #5
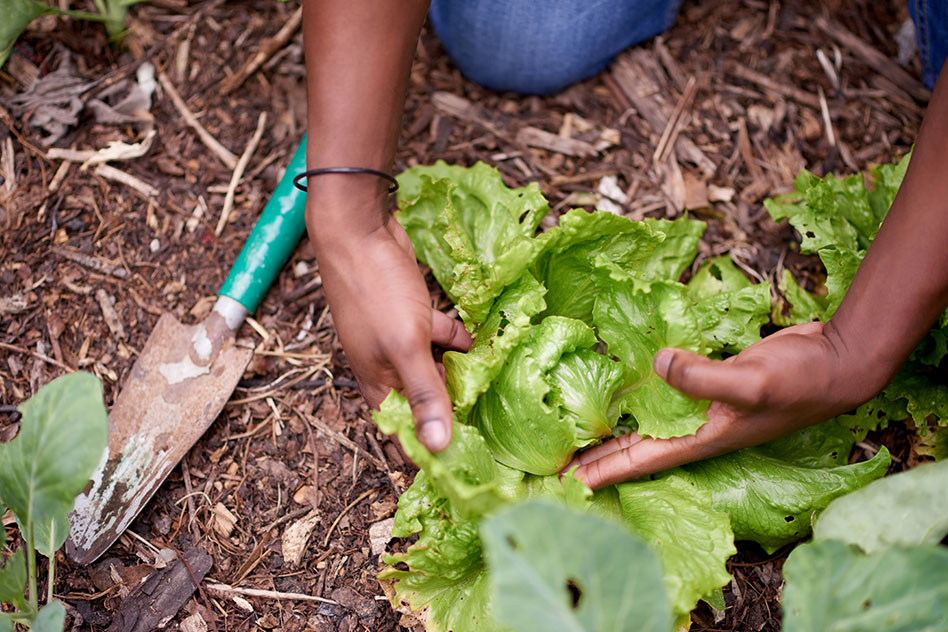
Grow Your Own
Even better than buying local, is growing your own food. It’s easy, only takes a little bit of land, a balcony or patio, and a few pots. Give it a try with cilantro, greens, Swiss chard, and snow peas. Tomatoes, peppers, broccoli, beans, and spices are also fun to grow!
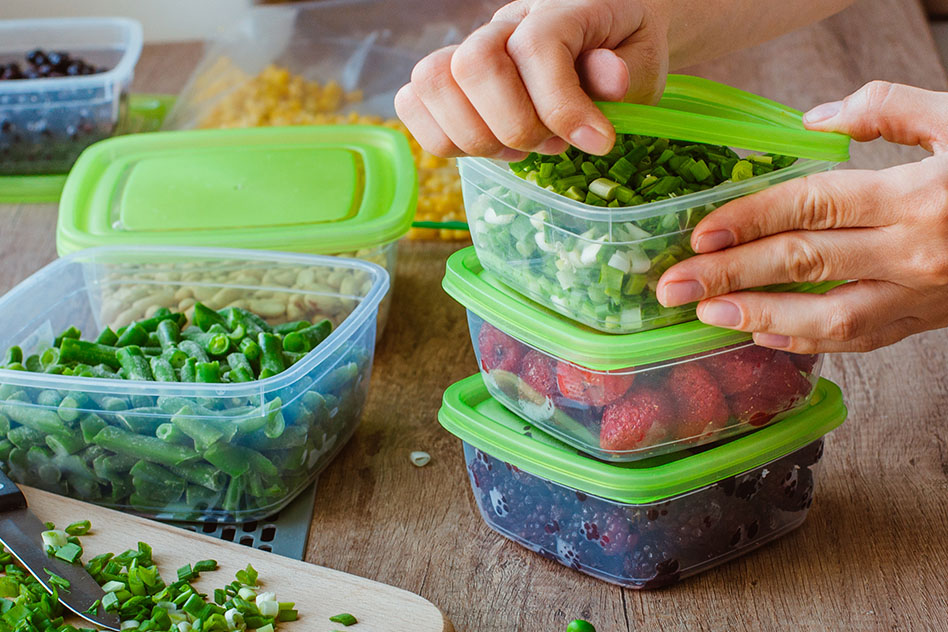
Wash and cut your own produce
Pre-washed or pre-cut produce can cost more. Pick a day to prep your vegetables for the week and ask your kids to help. They will learn some healthy habits and have fun helping you too.
Tip #6
Tip #7
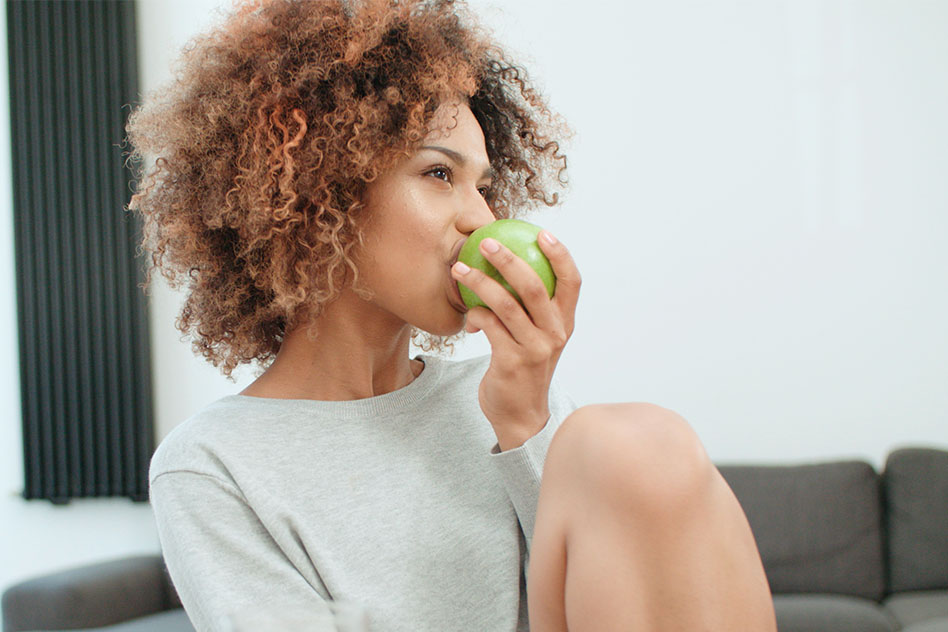
Never shop when you or your children are hungry
Hunger is your worst enemy when you are trying to shop healthy. It can lead you to buy foods that you don’t need simply because they look yummy. Eat a small snack, such as an apple, carrots or celery and peanut butter before you shop.
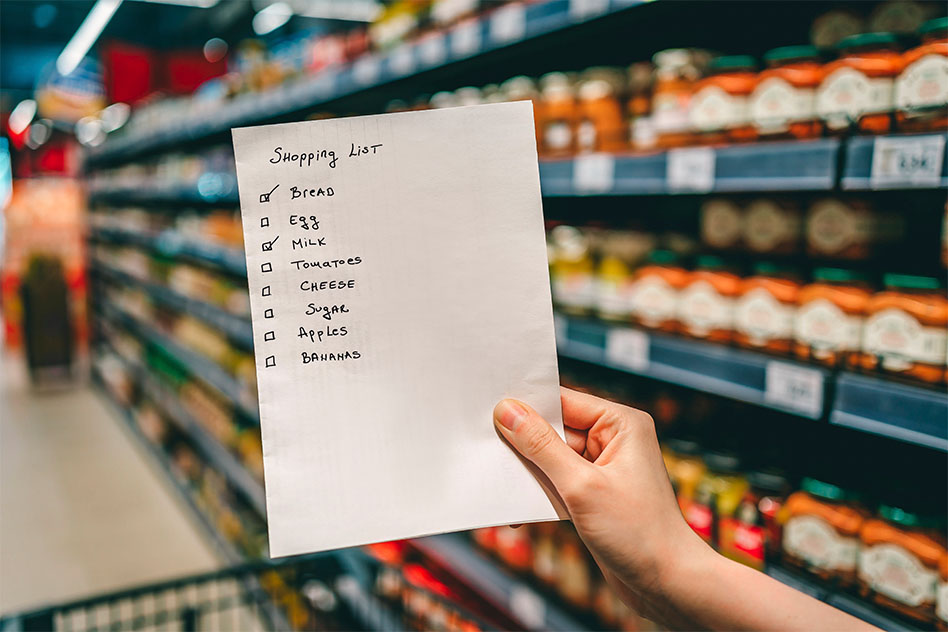
Make a list before you go, and stick to the list!
This will allow you to buy more healthy items and avoid foods that you don’t need.
Tip #8
Tip #9
Don’t let produce spoil before you use it
Don’t let produce spoil before you use it! To save money, learn how to store, save, reuse, or freeze your fruits and vegetables.
Store ripe produce in the fridge, keep unripe produce on the counter, and onions and potatoes in a cool, dry place. Keep fruits and vegetables separated — many fruits release a gas (ethylene) that speeds up the ripening of some vegetables.
Save it in plastic wrap, plastic bags, or glass jars. Leftover vegetables (and some fruits) can be added to salads, sandwiches, and soups.
Freeze it! Freeze cut up pieces of fruit like mango to use for smoothies or juices. Other ways to store fruits in the freezer are as a puree in ice cube trays, or whole like a peeled banana.
Make popsicles with fruits and yogurt. Freeze cooked vegetables like spaghetti squash or zucchini in freezer bags.
Still have plenty of veggies on hand?
Make it a habit to clean the fridge once a week and use leftover veggies in creative ways. For example, adding cooked peppers or squash to an omelet or in soups, chili, or a casserole dish.
Keep a list of produce you bought for the week on a sticky note on the fridge and then cross them off the list as you use them.
Tip #10
Other easy ideas to use up your veggies:
Stir-fry veggies and serve with brown rice.
Grill or sauté veggies for fajitas or tacos.
Make a pizza with veggies as toppings.
Load sandwiches with lettuce, grated carrots, and thin zucchini slices.
Install this web app on your iPhone: tap and then Add to Home Screen.
Side-Lying Hold
For the right breast, lie on your right side with your baby facing you.
Pull your baby close. Your baby’s mouth should be level with your nipple.
In this position, you can cradle your baby’s back with your left arm and support yourself with your right arm and/or pillows.
Keep loose clothing and bedding away from your baby.
Reverse for the left breast.
This hold is useful when:
You had a C-section
You want to rest while baby feeds
You are breastfeeding in the middle of the night
You and your baby are comfortable in this position
Cross-Cradle Hold
For the right breast, use your left arm to hold your baby’s head at your right breast and baby’s body toward your left side. A pillow across your lap can help support your left arm.
Gently place your left hand behind your baby’s ears and neck, with your thumb and index finger behind each ear and your palm between baby’s shoulder blades. Turn your baby’s body toward yours so your tummies are touching.
Hold your breast as if you are squeezing a sandwich. To protect your back, avoid leaning down to your baby. Instead, bring your baby to you.
As your baby’s mouth opens, push gently with your left palm on baby’s head to help them latch on. Make sure you keep your fingers out of the way.
Reverse for the left breast.
This hold is useful when:
Your baby is premature
Your baby has a weak suck
Your baby needs help to stay latched
Your baby needs extra head support
You and your baby are comfortable in this position
Clutch or “Football” Hold
For the right breast, hold your baby level, facing up, at your right side.
Put your baby’s head near your right nipple and support their back and legs under your right arm.
Hold the base of your baby’s head with your right palm. A pillow underneath your right arm can help support your baby’s weight.
To protect your back, avoid leaning down to your baby. Bring baby to you instead.
Reverse for the left breast.
This hold is useful when:
You had a C-section
You have large breasts
You have flat or inverted nipples
You have a strong milk let-down
You are breastfeeding twins
Your baby likes to feed in an upright position
Your baby has reflux
You and your baby are comfortable in this position
Cradle Hold
For the right breast, cradle your baby with your right arm. Your baby will be on their left side across your lap, facing you at nipple level.
Your baby’s head will rest on your right forearm with your baby’s back along your inner arm and palm.
Turn your baby’s tummy toward your tummy. Your left hand is free to support your breast, if needed. Pillows can help support your arm and elbow.
To protect your back, avoid leaning down to your baby. Instead, bring your baby to you.
Reverse for the left breast.
This hold is useful when:
Your baby needs help latching on
You and your baby are comfortable in this position
Laid-Back Hold
Lean back on a pillow with your baby’s tummy touching yours and their head at breast level. Some moms find that sitting up nearly straight works well. Others prefer to lean back and lie almost flat.
You can place your baby’s cheek near your breast, or you may want to use one hand to hold your breast near your baby. It’s up to you and what you think feels best.
Your baby will naturally find your nipple, latch, and begin to suckle.
This hold is useful when:
Your baby is placed on your chest right after birth
You have a strong milk let-down
You have large breasts
You and your baby are comfortable in this position