

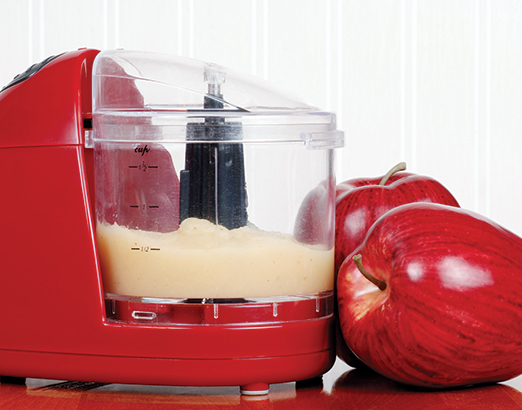
| This guide will help you to choose what tools will work best for your recipes & your budget. |  |
 |
 |
 |
 |
|---|---|---|---|---|---|
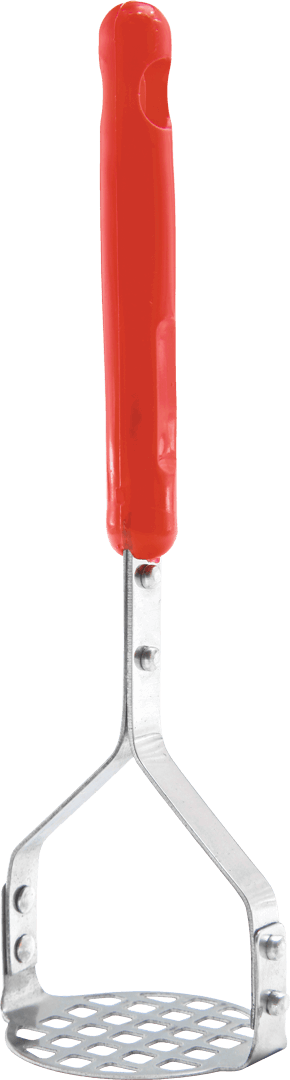
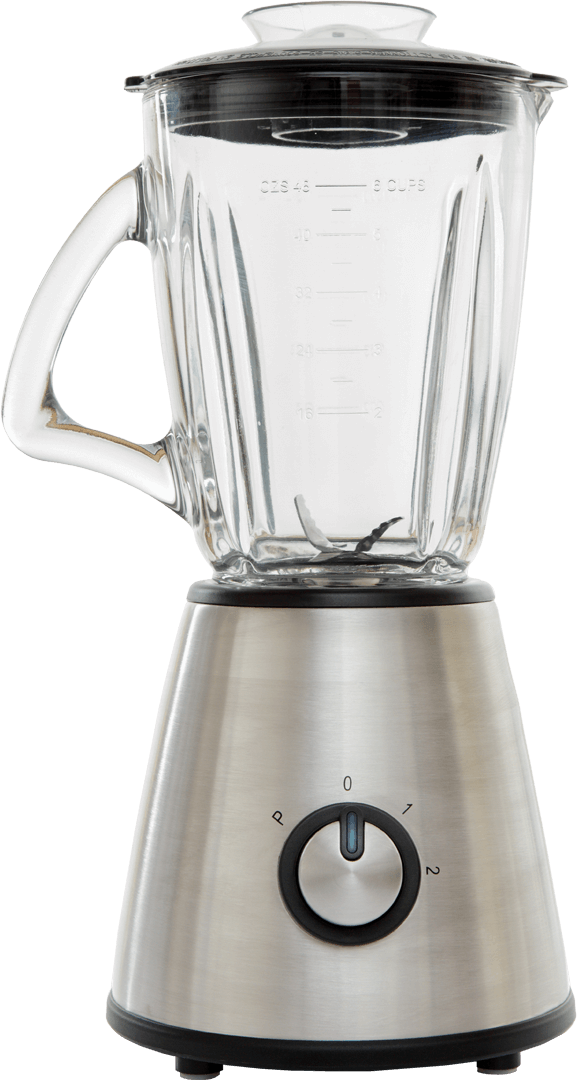
| Kitchen Tool: | Fork | Potato Masher | Immersion Blender |
Blender | Food Processor |
| Price Range: | Free | $13 | $15-$40 | $20-$50 | $30-$95 |
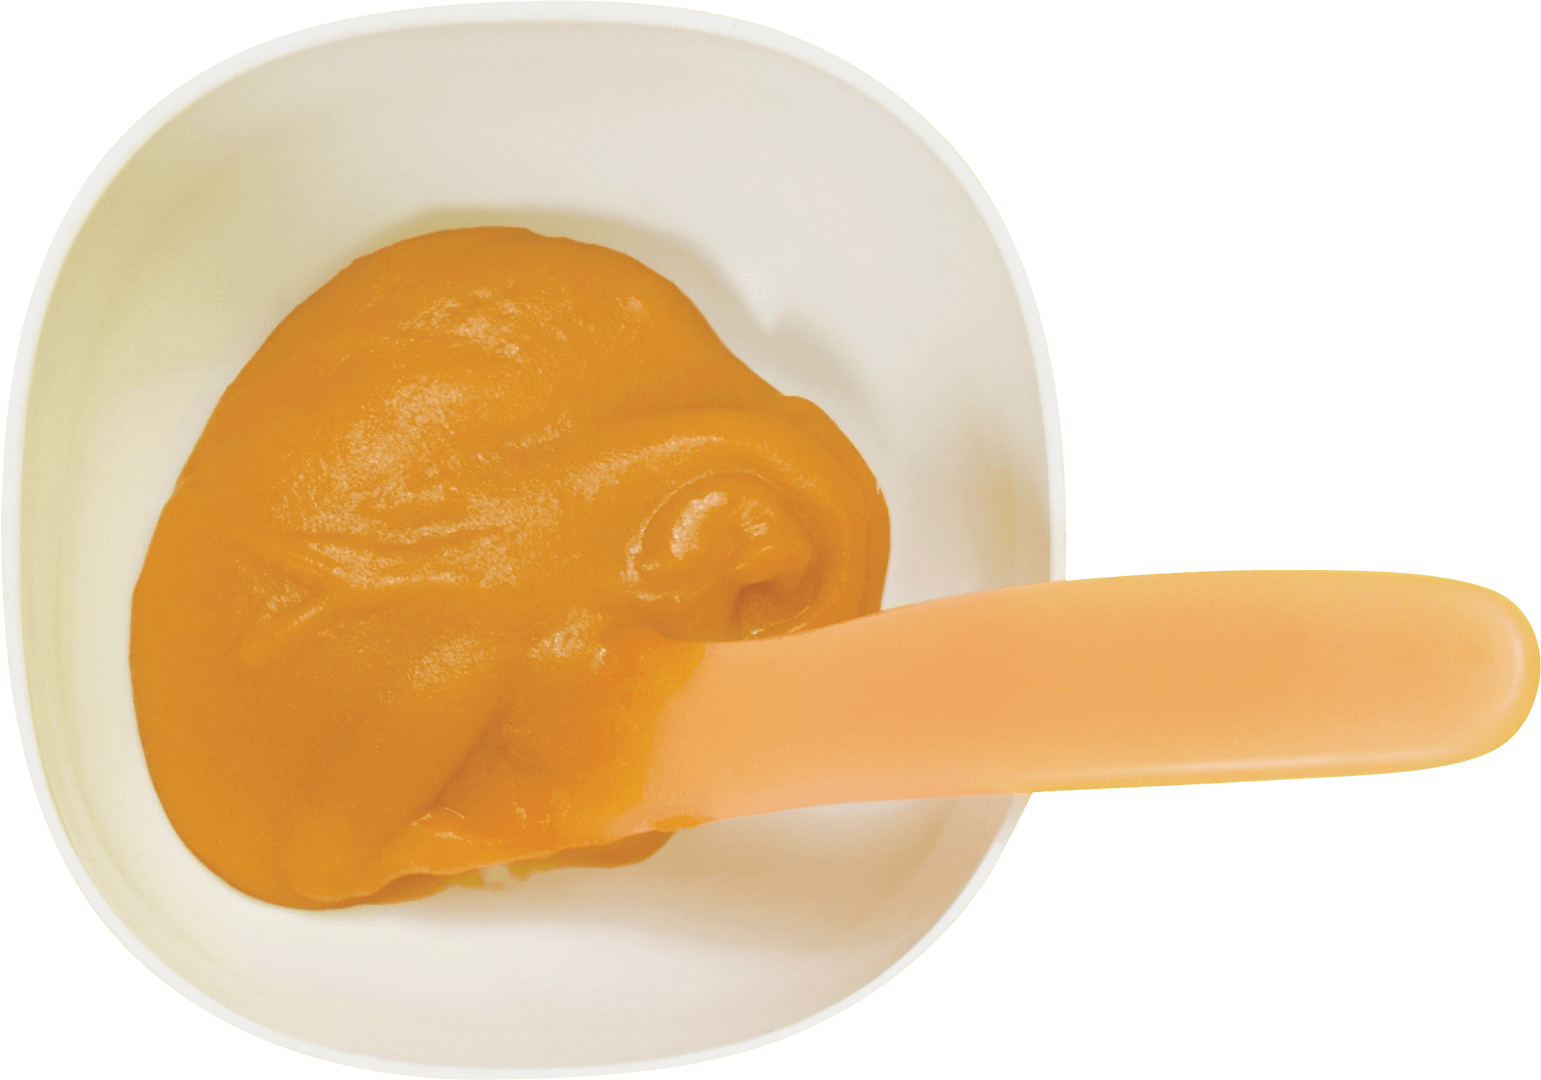
| Useful for: | Soft foods like bananas and avocados that can be mashed. | Starchy foods like potatoes and winter squash | Pureeing small batches of soft fruits and vegetables in the saucepan or a storage container. Smaller than a blender and easy to store. | Steamed fruits and vegetables, beans, dry grains like oats. | Pureeing more solid foods like carrots, potatoes, and for grinding grains to make cereals. Can easily make larger batches of foods. |


Install this web app on your iPhone: tap and then Add to Home Screen.


