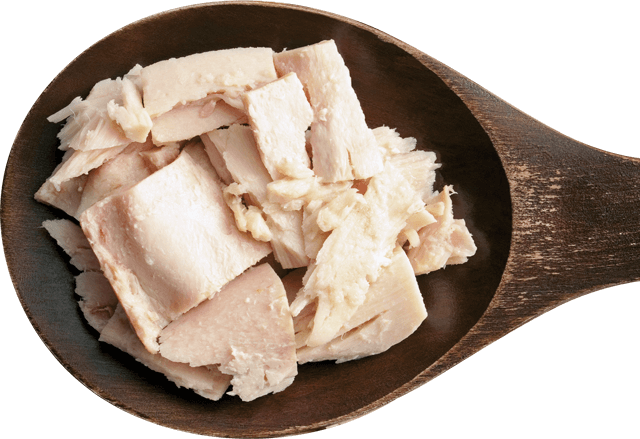

When shopping, do you ever wonder which protein source offers the most “bang for your buck”? The chart below gives you an idea of average prices. When shopping, check the price per serving using your phone’s calculator. Things you need to think about are bone and other waste like skin that you won’t eat, but that you pay for! In a drumstick for example, about half of the cost is bone and skin, so there is only about 4 ounces of edible protein in two drumsticks.
| Food | Serving size | Estimated cost per serving* |
Protein (g) |
|---|---|---|---|
| Boneless, skinless chicken breasts | 4 oz. raw | $0.50 (on sale) | 26 g |
| 80% lean ground beef | 4 oz. raw | $0.92 | 15 g |
| Canned white tuna in water | 2 oz. cooked (1/2 5 oz. can) |
$0.80 | 15 g |
| Eggs, large | 2 eggs | $0.36 | 12 g |
| Garbanzo beans, dry | ¼ cup dry or ½ cup cooked |
$0.20 | 8 g |
| Peanut butter, natural (peanuts and salt only) | 2 tablespoons | $0.24 | 8 g |
| Walnuts | 1 oz. (14 halves) | $0.50 | 4 g |
Table 1. Comparison of protein in common foods.
* Prices given here were found at Mid-Atlantic supermarkets in June 2013. The prices you find may vary, depending on brand, location, and retailer.
Canned tuna is an economical choice. But preparing it the same way can get stale. Here are some tips for making tuna more exciting. Be sure to rinse the tuna well before using it to reduce the salt content.

Looking for a way to make your tuna salad a little different from the typical? Try adding seasonings, such as fresh or dried dill, tarragon, ginger, curry powder, chipotle pepper, smoked paprika, mint, basil, cilantro, or rosemary.
Add salsa and a little chopped jalapeno to make it spicy. Or, add curry seasoning, ginger, and soy sauce. Or, add feta cheese and Greek olives.
Celery is commonly added to tuna salad. Try adding a small amount of chopped zucchini, jicama, water chestnuts, pear or apple, broccoli, cauliflower, shredded carrots, thawed frozen peas, peanuts, or toasted chopped walnuts, pecans, or almonds.
In addition to sandwich bread, serve tuna salad in whole grain pita pockets, on bagel halves, or rolled in a whole grain tortilla or flat bread. Or, serve it in a tomato.
Spread tuna salad on toasted whole grain bread, bagel, or English muffin halves. Top each half with low fat cheese (such as Swiss, Cheddar or Mozzarella) and broil until cheese bubbles.
Spread tuna salad on toasted whole grain bread, bagel, or English muffin halves. Top each half with low fat cheese (such as Swiss, Cheddar or Mozzarella) and broil until cheese bubbles.
Get creative. Give your tuna sandwich a face, using assorted raw veggies for eyes, mouth, nose, ears, and hair.
Get creative. Give your tuna sandwich a face, using assorted raw veggies for eyes, mouth, nose, ears, and hair.
Mix tuna salad into cooked pasta, brown rice, quinoa, or other cooked whole grains. Try some of the flavor additions suggested above. Throw in fresh or frozen mixed vegetables and/or cooked beans, such as kidney or garbanzo beans.
Substitute avocado for some or all of the mayo in your tuna salad. Avocado is a healthy fat. Or, combine the tuna with hummus. Serve with thinly sliced carrot dippers or baked tortilla chips. Or, add low fat no-added-salt cottage cheese to your tuna salad in place of the mayonnaise.
Combine canned tuna with leftover cooked mashed potatoes, an egg, Dijon mustard, and your favorite seasonings. Pan-fry them in a small amount of canola oil. The mashed potatoes and egg help to hold the mixture together. Serve topped with a red pepper sauce or cheese sauce or in a whole grain bun with a couple of pickles. You can get two tuna patties per 5-ounce can.
Add cut up fresh or canned pineapple to tuna salad. Or, add red or green seedless grapes, Mandarin oranges, chopped green or red apples, or pears. 
Install this web app on your iPhone: tap ![]() and then Add to Home Screen.
and then Add to Home Screen.
Side-Lying Hold
This hold is useful when:
Cross-Cradle Hold
This hold is useful when:
Clutch or “Football” Hold
This hold is useful when:
Cradle Hold
This hold is useful when:
Laid-Back Hold
This hold is useful when: