
Wyoming WIC
banner

A Mom, A Can, A Plan

A-Mom-A-Can-A-Plan-QR-code
November 3, 2021 General /Family

iPhone_5

It was finally payday! Maria’s cabinets were almost empty and she planned to go grocery shopping after work. With her organized list in hand, she was ready! She was excited to finally cook something new since her family was getting tired of leftovers.

But when Maria picked up her daughter Katie from preschool, she had a fever; Maria took her straight to the doctor. After waiting several hours at the clinic and with a sick little one, there was no way she could get to the store.

She would have to make do with what she had at home.
It happens to all moms at some point — those perfectly timed plans you’ve made can be ruined in minutes. That’s why all moms need to have a “Plan B” up their sleeve!

The Pantry Plan

Whether it’s time, money or transportation that keeps you from getting food in the house, keeping some essential items in your pantry (and a few standbys in your fridge) can help you make some quick, yummy meals. To make canned foods taste better, add spices! Don’t be afraid to add garlic powder, dehydrated onion, cumin, curry, etc. To reduce the sodium, drain canned foods and rinse. Finally, don’t be afraid to experiment and look on the Internet for recipes using pantry items.

Here are some must-have pantry staples to always keep on hand:

Pantry Items

Pasta or rice
Canned tuna, salmon, clams or chicken
Dried beans or lentils
Canned chickpeas, white beans or refried beans
Jarred or canned tomato sauce/pasta sauce
Tomatoes, seasoned tomatoes
Canned cream of mushroom or chicken soup
Evaporated milk
Chiles
Canned green beans, carrots, mixed vegetables
Flour, cornmeal, cooking oil, spices, honey
Soy sauce
Powdered chicken broth
Tostada shells

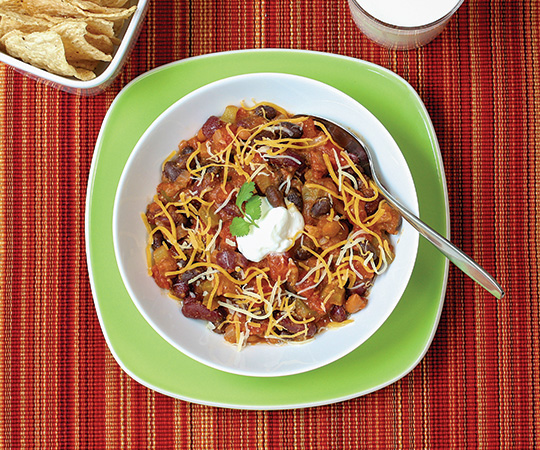
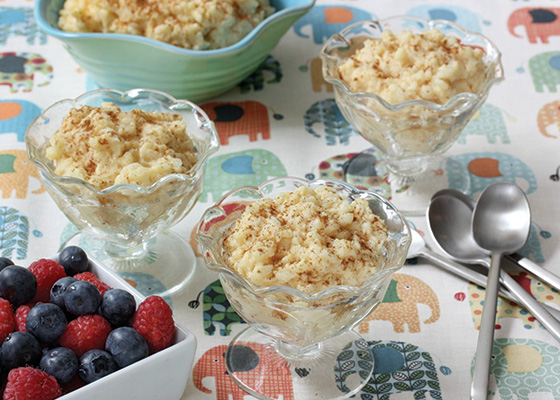
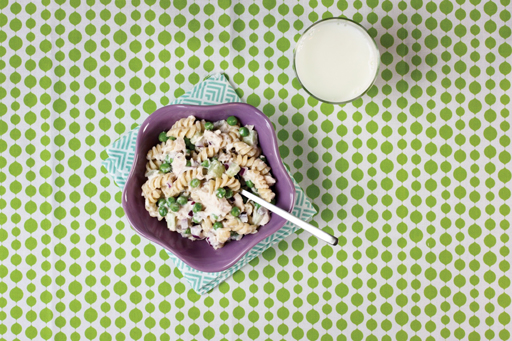
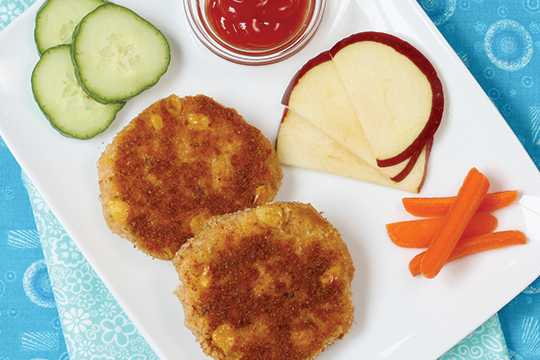
Pantry Dishes

Check out these quick and easy dishes
you can make using items you may
already have on hand!
wic_14065188241_b0b98c8

Pasta Dishes

If you have…

a few eggs, mayonnaise, pancake mix and some cheese in the fridge you can also make these:
wic_14350836002

Other

Veggie Dishes

wic_14050990220

Desserts

wic_14191028054

Install this web app on your iPhone: tap ios-share and then Add to Home Screen.

SIDE-LYING HOLD

Side-Lying Hold

  1. For the right breast, lie on your right side with your baby facing you.
  2. Pull your baby close. Your baby’s mouth should be level with your nipple.
  3. In this position, you can cradle your baby’s back with your left arm and support yourself with your right arm and/or pillows.
  4. Keep loose clothing and bedding away from your baby.
  5. Reverse for the left breast.

This hold is useful when:

CROSS-CRADLE HOLD

Cross-Cradle Hold

  1. For the right breast, use your left arm to hold your baby’s head at your right breast and baby’s body toward your left side. A pillow across your lap can help support your left arm.
  2. Gently place your left hand behind your baby’s ears and neck, with your thumb and index finger behind each ear and your palm between baby’s shoulder blades. Turn your baby’s body toward yours so your tummies are touching.
  3. Hold your breast as if you are squeezing a sandwich. To protect your back, avoid leaning down to your baby. Instead, bring your baby to you.
  4. As your baby’s mouth opens, push gently with your left palm on baby’s head to help them latch on. Make sure you keep your fingers out of the way.
  5. Reverse for the left breast.

This hold is useful when:

CLUTCH OR “FOOTBALL” HOLD

Clutch or “Football” Hold

  1. For the right breast, hold your baby level, facing up, at your right side.
  2. Put your baby’s head near your right nipple and support their back and legs under your right arm.
  3. Hold the base of your baby’s head with your right palm. A pillow underneath your right arm can help support your baby’s weight.
  4. To protect your back, avoid leaning down to your baby. Bring baby to you instead.
  5. Reverse for the left breast.

This hold is useful when:

CRADLE HOLD

Cradle Hold

  1. For the right breast, cradle your baby with your right arm. Your baby will be on their left side across your lap, facing you at nipple level.
  2. Your baby’s head will rest on your right forearm with your baby’s back along your inner arm and palm.
  3. Turn your baby’s tummy toward your tummy. Your left hand is free to support your breast, if needed. Pillows can help support your arm and elbow.
  4. To protect your back, avoid leaning down to your baby. Instead, bring your baby to you.
  5. Reverse for the left breast.

This hold is useful when:

Laid-Back Hold

Laid-Back Hold

  1. Lean back on a pillow with your baby’s tummy touching yours and their head at breast level. Some moms find that sitting up nearly straight works well. Others prefer to lean back and lie almost flat.
  2. You can place your baby’s cheek near your breast, or you may want to use one hand to hold your breast near your baby. It’s up to you and what you think feels best.
  3. Your baby will naturally find your nipple, latch, and begin to suckle.

This hold is useful when: