Skip to Content Skip to Footer
Wyoming WIC
Wyoming WIC
  • Home
  • Women
    • Women
      Breastfeeding
    • Women
      Healthy Tips for Moms
    • Women
      Postpartum
    • Women
      Pregnant
  • Infants
    • Infants
      Feeding & Nutrition
    • Infants
      Growth & Development
  • Children
    • Children
      Toddlers
    • Children
      2-5 Year Olds
  • Families
    • Families
      Activity and Play
    • Families
      Dads
    • Families
      Food & Family Meals
    • Families
      Immunizations
    • Families
      Safety
  • Live Well Blog
  • Food Shopping Guide
  • Español

Formula Feeding 101

  • Home
  • Infants
  • Feeding & Nutrition
  • Formula Feeding 101
Types of Infant Formula
Prepare and Use Formula Carefully
Warm the Bottle Correctly
Bottle-Feeding Tips
  • Follow Your Baby’s Lead
  • During the Feed
Changing Your Baby’s Formula
  • What Should I Expect When I Change My Baby’s Formula?
  • How Can I Safely Switch to a New Formula?
  • Formula Transition Schedule
Helpful Tips
Resources
Formula-101-Eng_QR-code

Getting

Started

Feeding is a special time to bond with your baby as you help them grow strong.

Follow these tips to safely prepare infant formula and bottle-feed your baby.

Types of Infant Formula

Ready-to-feed

Do not add water

Liquid concentrate

Must be mixed with an equal amount of water

Powdered

Must be mixed with water according to label instructions

Buy only the brand, type, and size listed on your WIC Benefits.
SUBSTITUTIONS ARE NOT ALLOWED.

If infant formula is defective, spoiled, or has exceeded its “sell by” or “best if used by” date, an authorized store may provide an exchange for an identical authorized WIC food. Call your local WIC clinic if your baby needs a different formula.

Prepare and Use Formula Carefully

Before mixing any baby formula, check the can for the expiration date. Do not use expired formula.

Read all instructions to mix formula correctly.

1

Wash hands and bottles

  • Wash your hands before preparing formula and keep everything clean, including the area where you prepare formula and the top of the can.
  • Wash bottles, nipples, and rings with a bottle brush in hot, soapy water or use the dishwasher. Sterilize new bottles, nipples, and rings in boiling water for 5 minutes. Air dry.

2

Add clean water to bottle

  • Use clean tap or bottled water. If you have well water, get it tested for safety. Check with your local WIC office where you can have your well water tested or click here about Wyoming Public Health Laboratory water testing.
  • Let tap water run for 2 minutes before using it to remove any old water from pipes.
  • If your baby was born early or premature, boil the water then allow it to cool for about 5 minutes before adding powdered formula.

3

Measure and add level scoop(s) of formula

  • Use the scoop that belongs to the can of formula you are currently using. Formula companies design the scoop that comes with each can of formula to measure the exact amount of powder to make sure your baby gets the correct balance of nutrients.
  • Start with a small amount of formula to avoid waste. You will need to throw away any unused prepared formula after an hour.

4

Test temperature

  • Sprinkle a few drops of formula on the inside of your wrist to make sure it’s warm, not hot.

5

Refrigerate

  • Refrigerate prepared formula until you need it.

Formula may be refrigerated up to:

  • 24 hours (powdered)
  • 48 hours (liquid concentrate)
  • 48 hours after opening (ready-to-feed)

6

Discard leftovers

  • After an hour, throw away any formula left in the bottle after a feeding. Bacteria can grow in the milk from your baby’s mouth.

7

Clean bottles promptly

  • Clean bottles and feeding supplies soon after use.

WARM THE BOTTLE CORRECTLY

  • Putting your baby’s bottle of formula in the microwave might seem fast, but you should know it’s not recommended because it can be risky for your little one. When you microwave the formula, it can heat unevenly, creating very hot spots that could burn your baby’s mouth and throat, even if the bottle feels okay to you on the outside.
  • Heating the formula too much might also harm some of the good things, like vitamins, your baby needs.
  • If you’re using a plastic bottle, heating it in the microwave could potentially cause tiny bits of chemicals to get into the milk.
  • It’s much safer for you to warm the bottle by putting it in a cup of warm water instead, or you can just give it to your baby at room temperature.

For more information on safe infant formula preparation, visit:

Infant Formula: Safety Do’s and Don’ts (FDA)
Infant Formula Preparation and Storage (CDC)

Bottle-Feeding Tips

Your baby is growing fast and has a tiny tummy, so they get hungry a lot.

FOLLOW YOUR BABY’S LEAD

Feed your baby on demand when they are hungry, not on a schedule. Your baby will show you when they want to eat, are ready for a break, and are full. Watch for a few of the cues listed below to know when your baby is hungry or full. Often, waiting until they cry can make it harder to feed them.

SIGNS BABY MIGHT BE HUNGRY:

  • Keeps hands near mouth
  • Makes sucking noises
  • Bends arms and legs
  • Puckers lips
  • Searches for the nipple

SIGNS BABY MIGHT BE FULL:

  • Sucks slower or stops sucking
  • Relaxes hands and arms
  • Turns away from nipple
  • Pushes away
  • Falls asleep

Learn more about your baby’s hunger and fullness cues:

Getting to Know Your Baby:
Birth to 6 Months

Learn more about other behaviors to expect as they grow:

Getting to Know Your Toddler:
6 Months to 2 Years

Learn more with this Infant Feeding Guide:

Infant Feeding Guide

DURING THE FEED:

Hold Your Baby Close:

Feeding time is bonding time. Hold your baby in a semi-upright position, supporting their head, and make eye contact. Talk softly to them.

Hold the Bottle Correctly:

Keep the bottle at an angle so that the nipple is filled with milk. This helps your baby swallow less air and have less gas.

Follow Your Baby’s Cues:

Don’t force or encourage your baby to finish a bottle. Watch for signs that they are full, like turning away from the bottle, slowing down their sucking, or pushing the bottle away. Let them set the pace.

Take Breaks for Burping:

Your baby may need to burp during the feed or afterward to release swallowed air. Gently pat or rub their back.

Never Prop a Bottle:

Do not leave your baby alone with a propped-up bottle. This is a choking hazard and can also lead to ear infections and overfeeding.

Never Prop a Bottle:

Do not leave your baby alone with a propped-up bottle. This is a choking hazard and can also lead to ear infections and overfeeding.

A note on

spitting up:

Many infants spit up a little after feedings or while burping. This is normal because their digestive tract is still developing. As long as your baby is growing, gaining weight, and doesn’t seem uncomfortable, there is usually no need to worry about spitting up.

CHANGING YOUR BABY’S FORMULA

What should I expect when I change my baby’s formula?

Sometimes, you may need to change your infant to a new formula.

It’s really important to talk to your baby’s doctor before you change their formula. The doctor can help figure out why your baby is having problems and tell you the best new formula to use.

When changing formulas, it’s normal for your baby to experience a little fussiness or spitting up. Your baby may have some minor, temporary symptoms such as:

  • Increased burping, spitting up, or gas: this may last a few days.
  • Change in poop color, smell, or texture (such as looser or firmer): this is normal and may also happen when you add solid foods to your baby’s diet.
  • Reaction to a new taste: be sure to check the instructions on the formula packaging to make sure you are properly mixing the formula. Most babies get used to the new formula in a couple days.

How can I safely switch to a new formula?

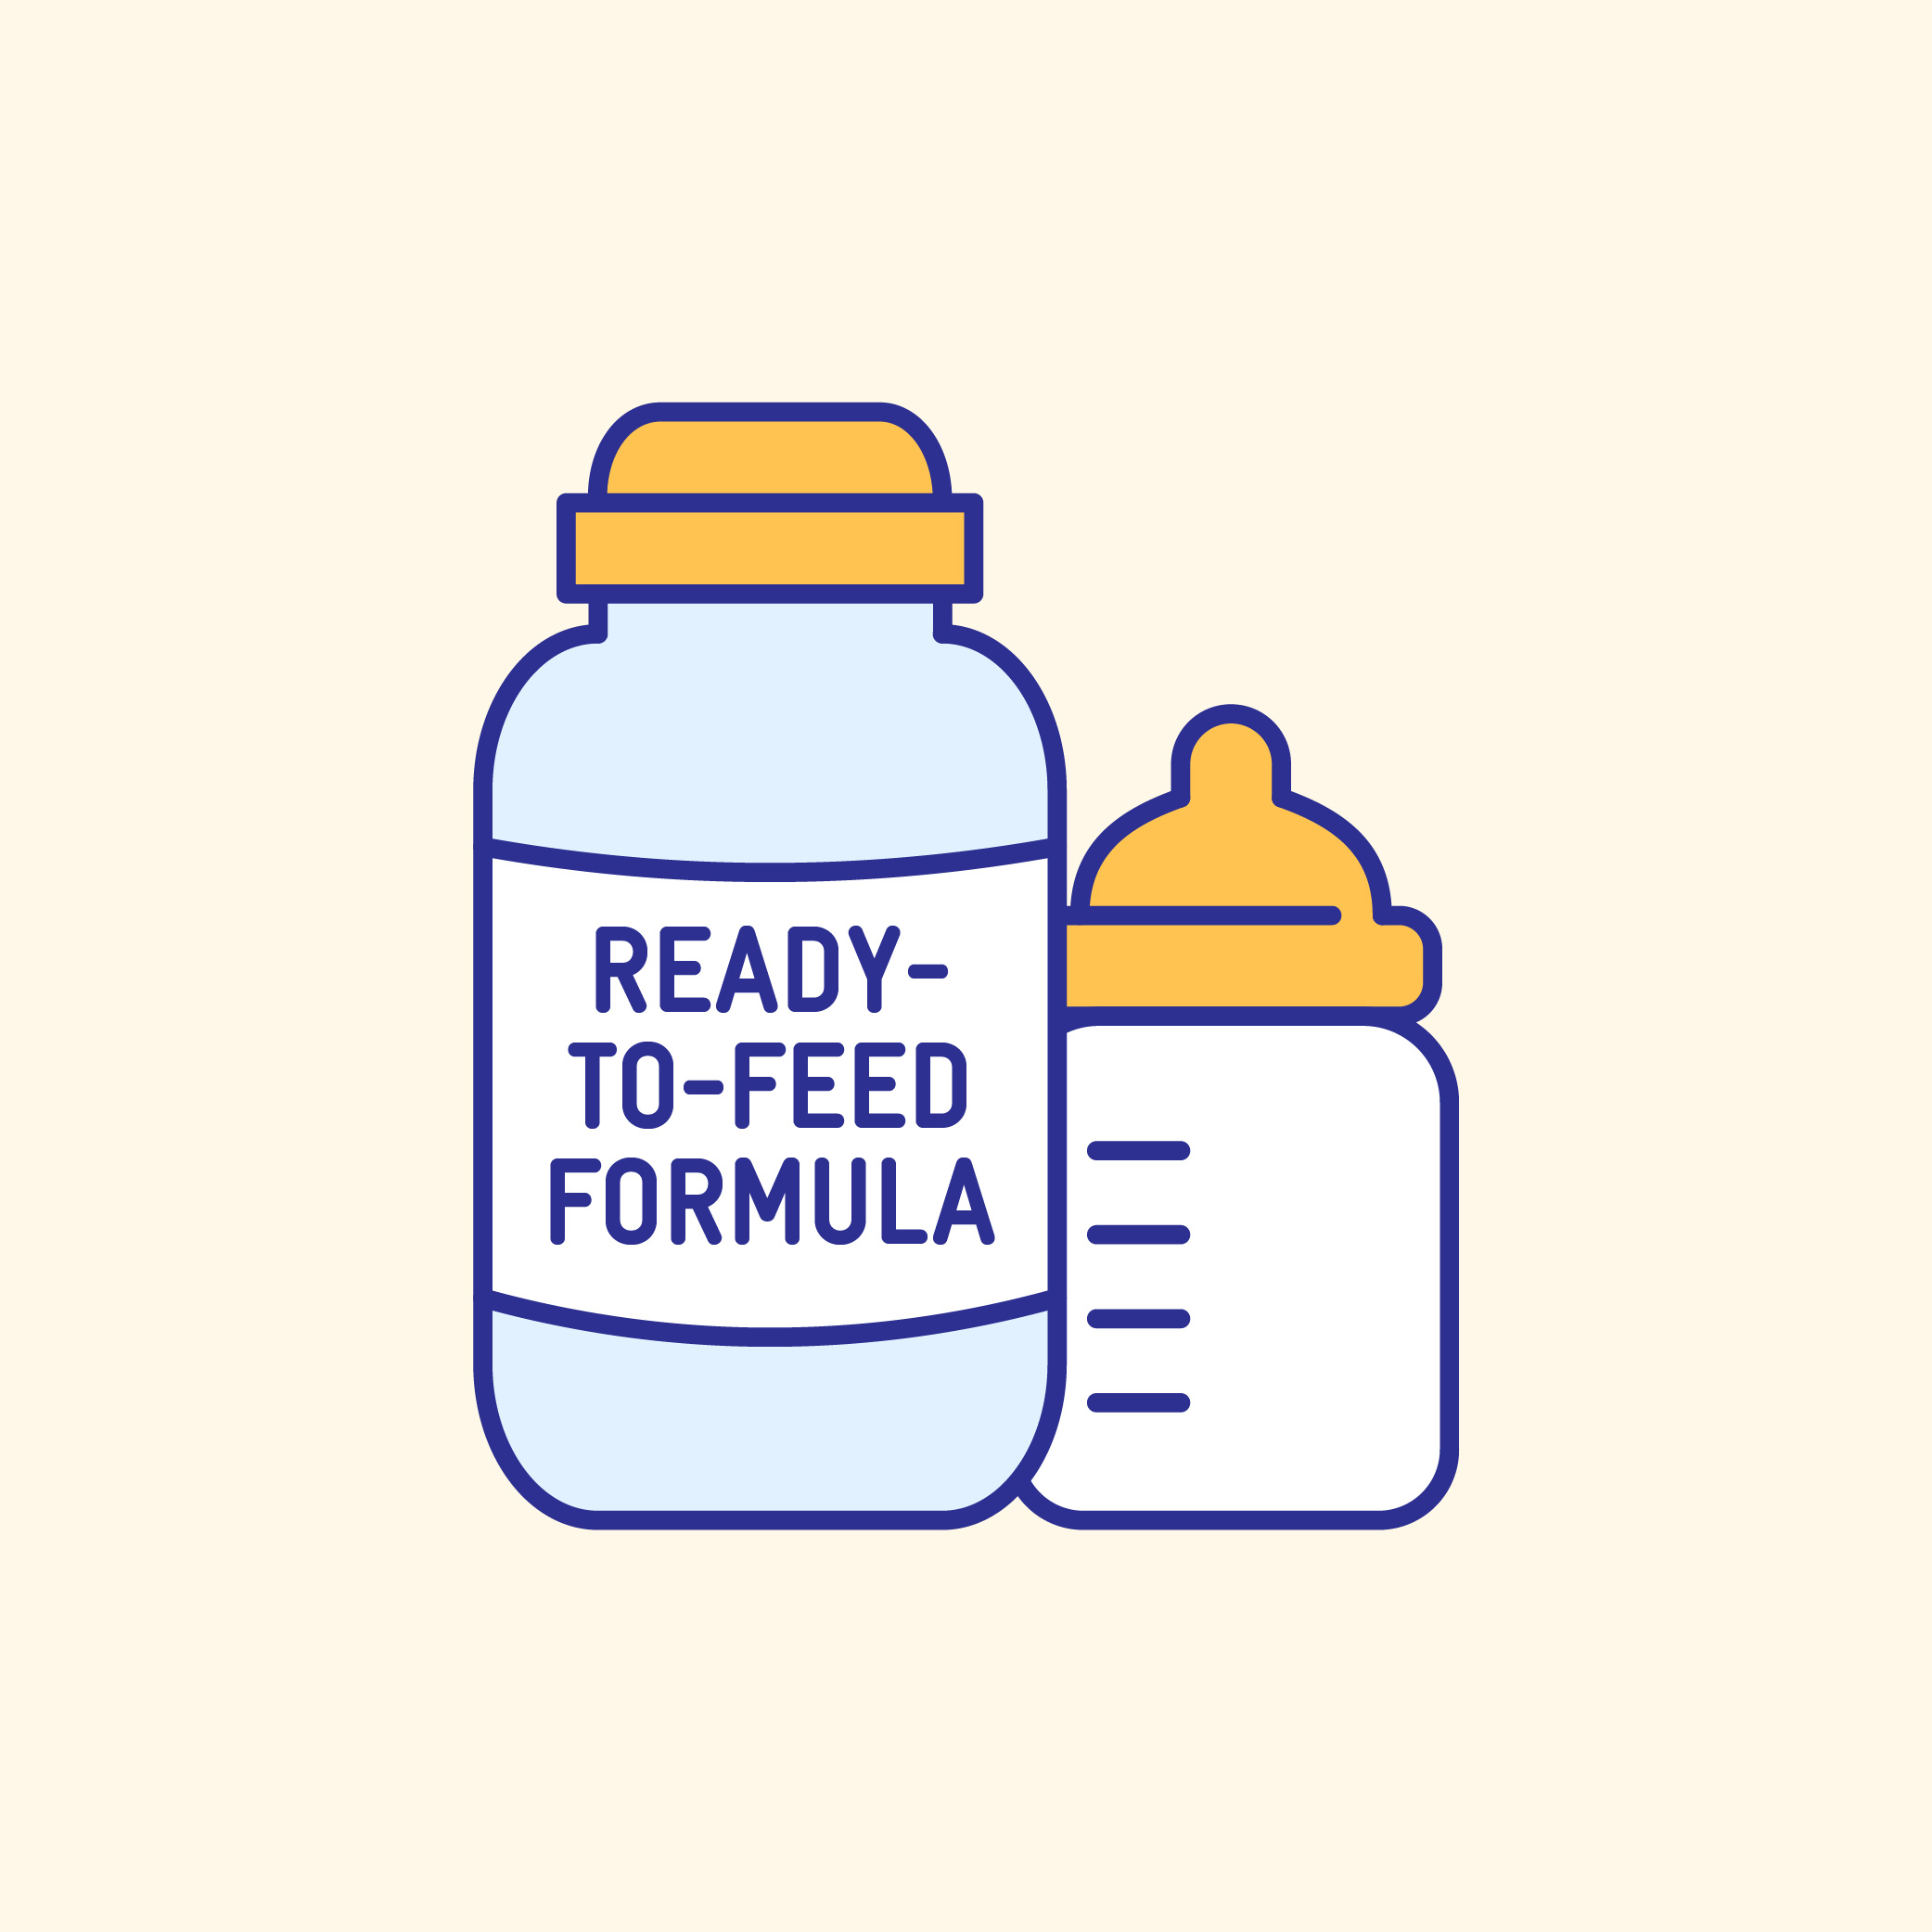
Most babies can change to a new formula without any problems.
Follow the transition schedule below to help gradually switch your baby to a new formula. The transition can be made over 4 days with less than a can of formula.

Talk to a WIC Nutritionist if you have concerns about switching your baby’s formula.

Day 0

Day 1

Day 2

Day 3

Day 4

Formula Transition Schedule

Prepare the old and new formulas separately, according to each formula’s label, then mix the two formulas together in a single bottle. Only mix two formulas together after you have first made them separately.

heading Preparing a 4 oz Bottle Preparing a 6 oz Bottle Preparing a 8 oz Bottle
Day 0
Day 0 4oz bottle
Use:
4 oz old brand of formula
Day 0 6oz bottle
Use:
6 oz old brand of formula
Day 0 8oz bottle
Use:
8 oz old brand of formula
Day 1
Day 1 4oz mix
Mix:
3 oz old brand of formula
1 oz new brand of formula
Day 1 6oz mix
Mix:
4 oz old brand of formula
2 oz new brand of formula
Day 1 8oz mix
Mix:
6 oz old brand of formula
2 oz new brand of formula
Day 2
Day 2 4oz mix
Mix:
2 oz old brand of formula
2 oz new brand of formula
Day 2 6oz mix
Mix:
3 oz old brand of formula
3 oz new brand of formula
Day 2 8oz mix
Mix:
4 oz old brand of formula
4 oz new brand of formula
Day 3
Day 3 4oz mix
Mix:
1 oz old brand of formula
3 oz new brand of formula
Day 3 6oz mix
Mix:
2 oz old brand of formula
4 oz new brand of formula
Day 3 8oz mix
Mix:
2 oz old brand of formula
6 oz new brand of formula
Day 4
Day 4 4oz bottle
Use:
4 oz new brand of formula
(Transition is completed)
Day 4 6oz bottle
Use:
6 oz new brand of formula
(Transition is completed)
Day 4 8oz bottle
Use:
8 oz new brand of formula
(Transition is completed)

HELPFUL TIPS

Be patient and give your baby time to adjust. It can take about one to two weeks for their tummy to get used to the new formula.

Your baby may burp or spit up a little while changing to the new formula.

Every formula tastes different; if your infant tried the new formula and did not like it, try changing the formula more slowly.

Your baby’s poop may look or smell different when changing formulas; this is normal.

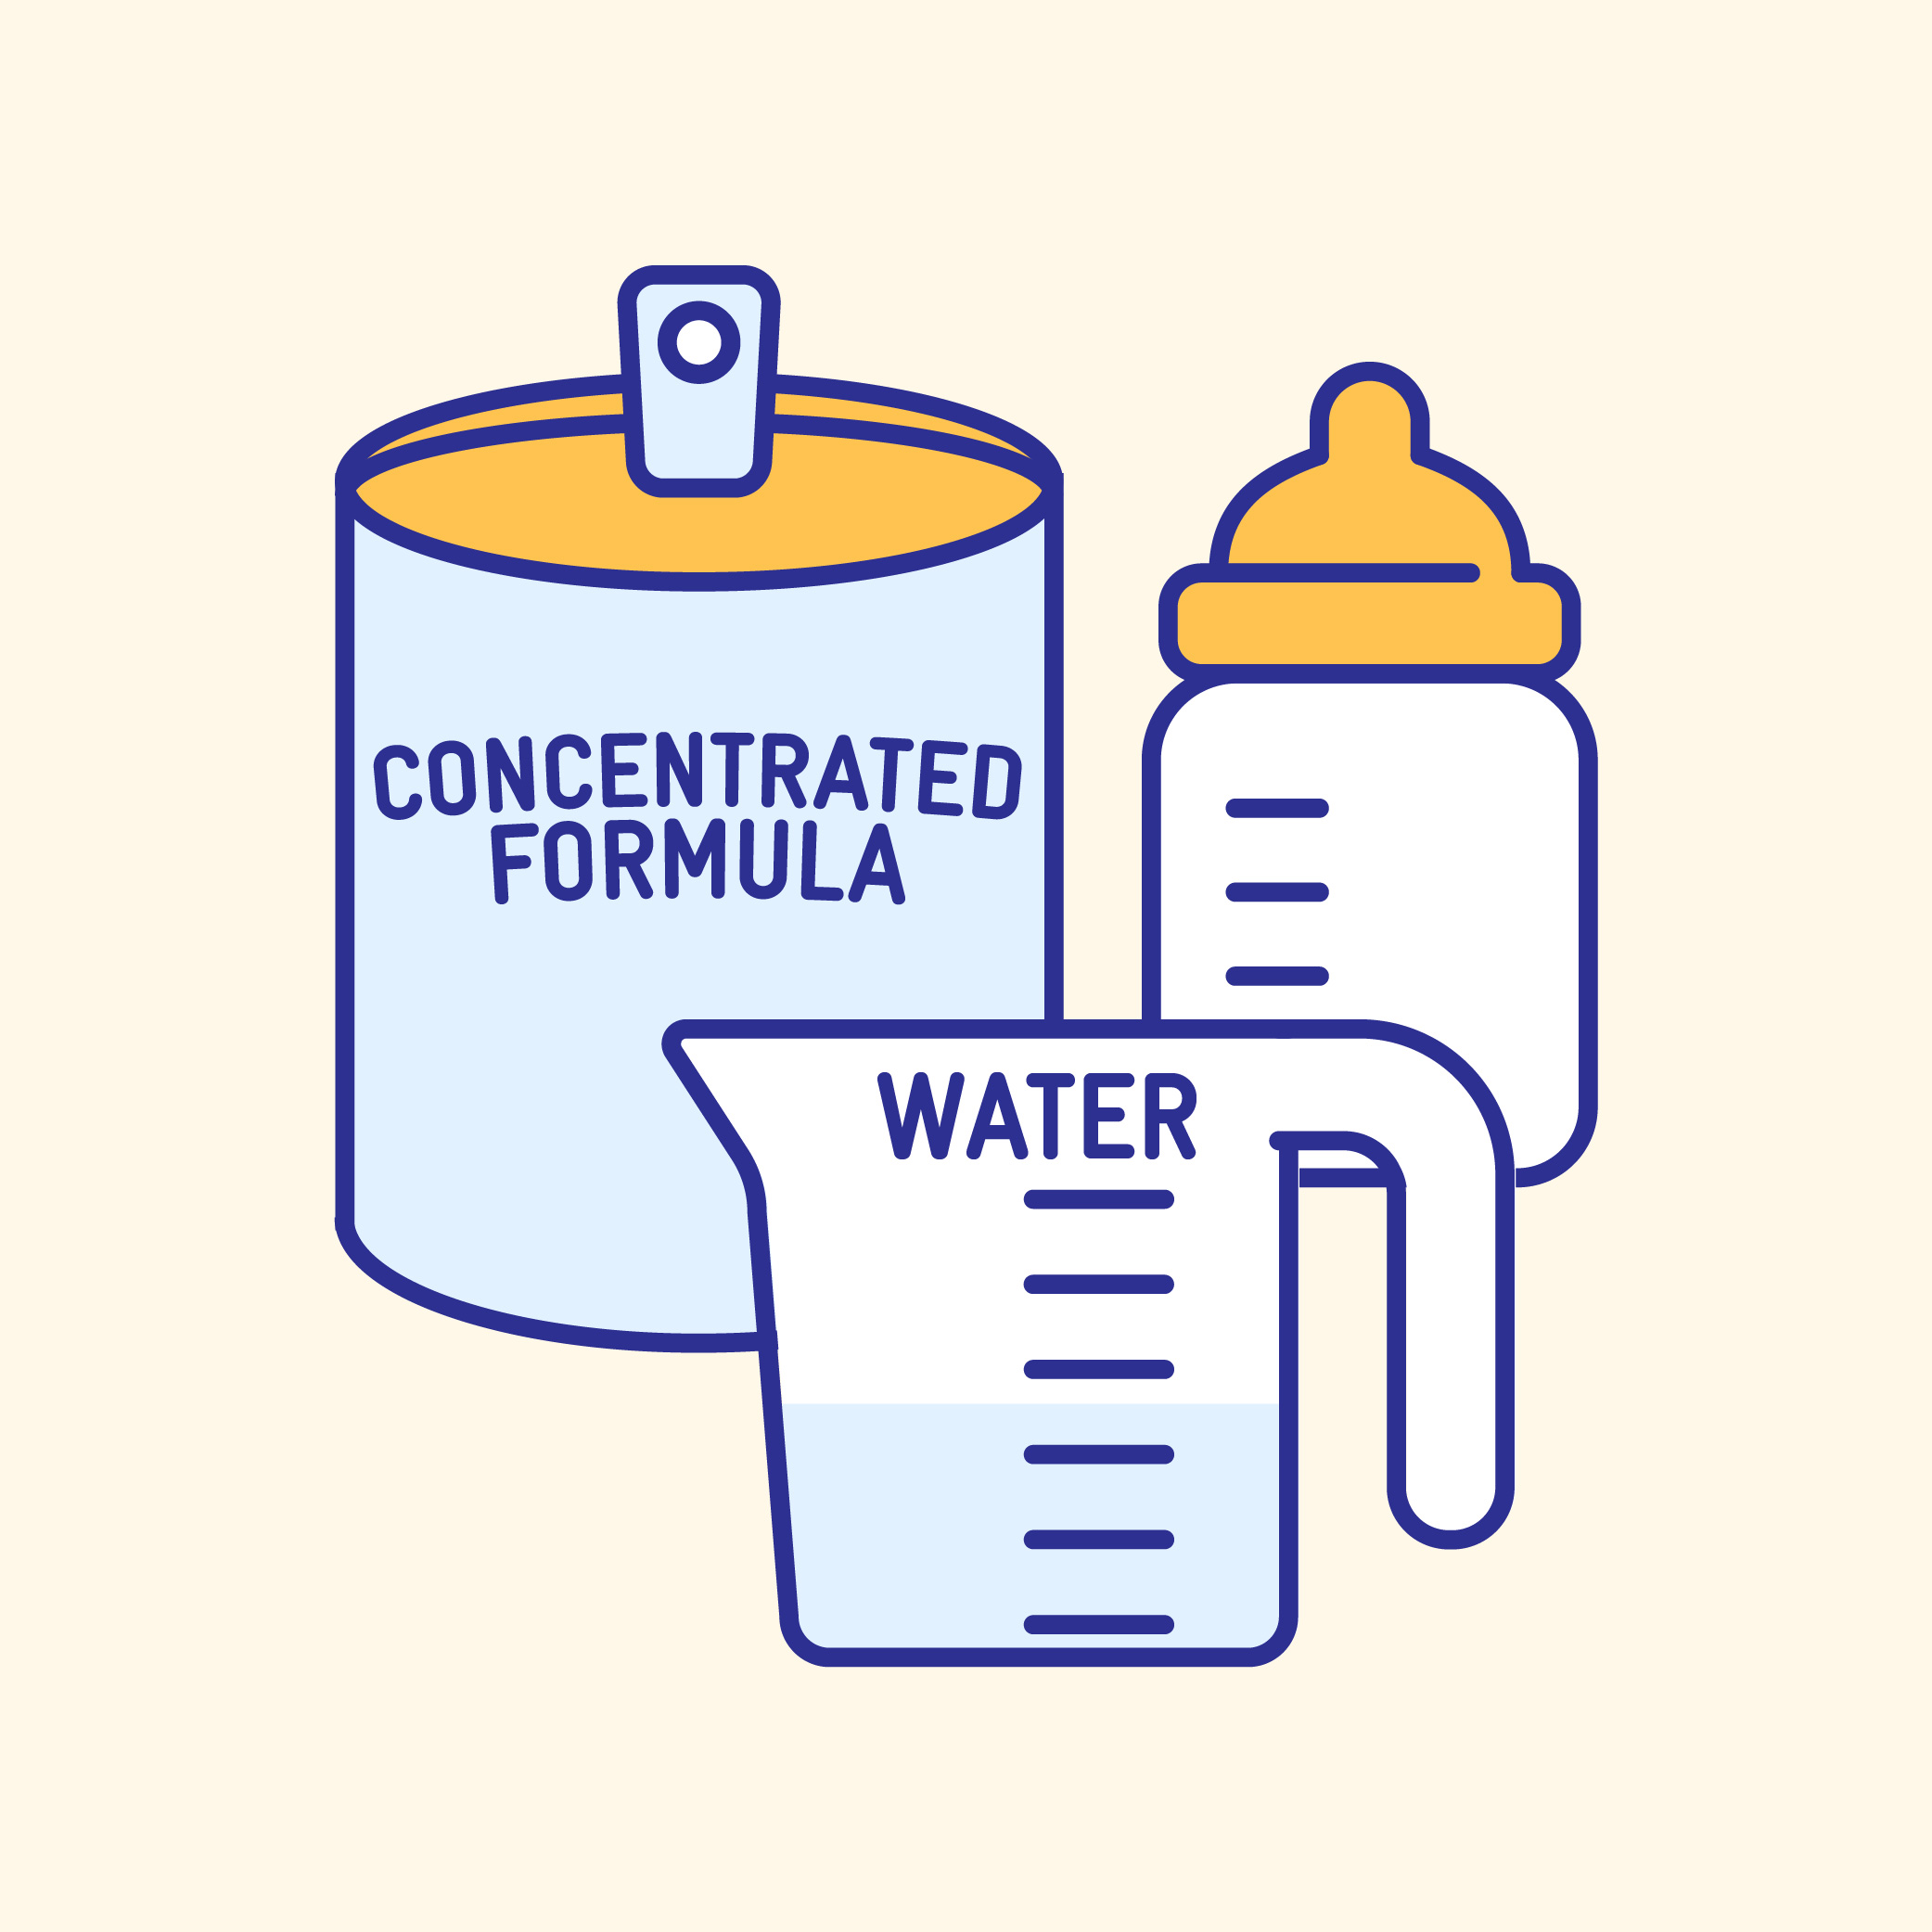
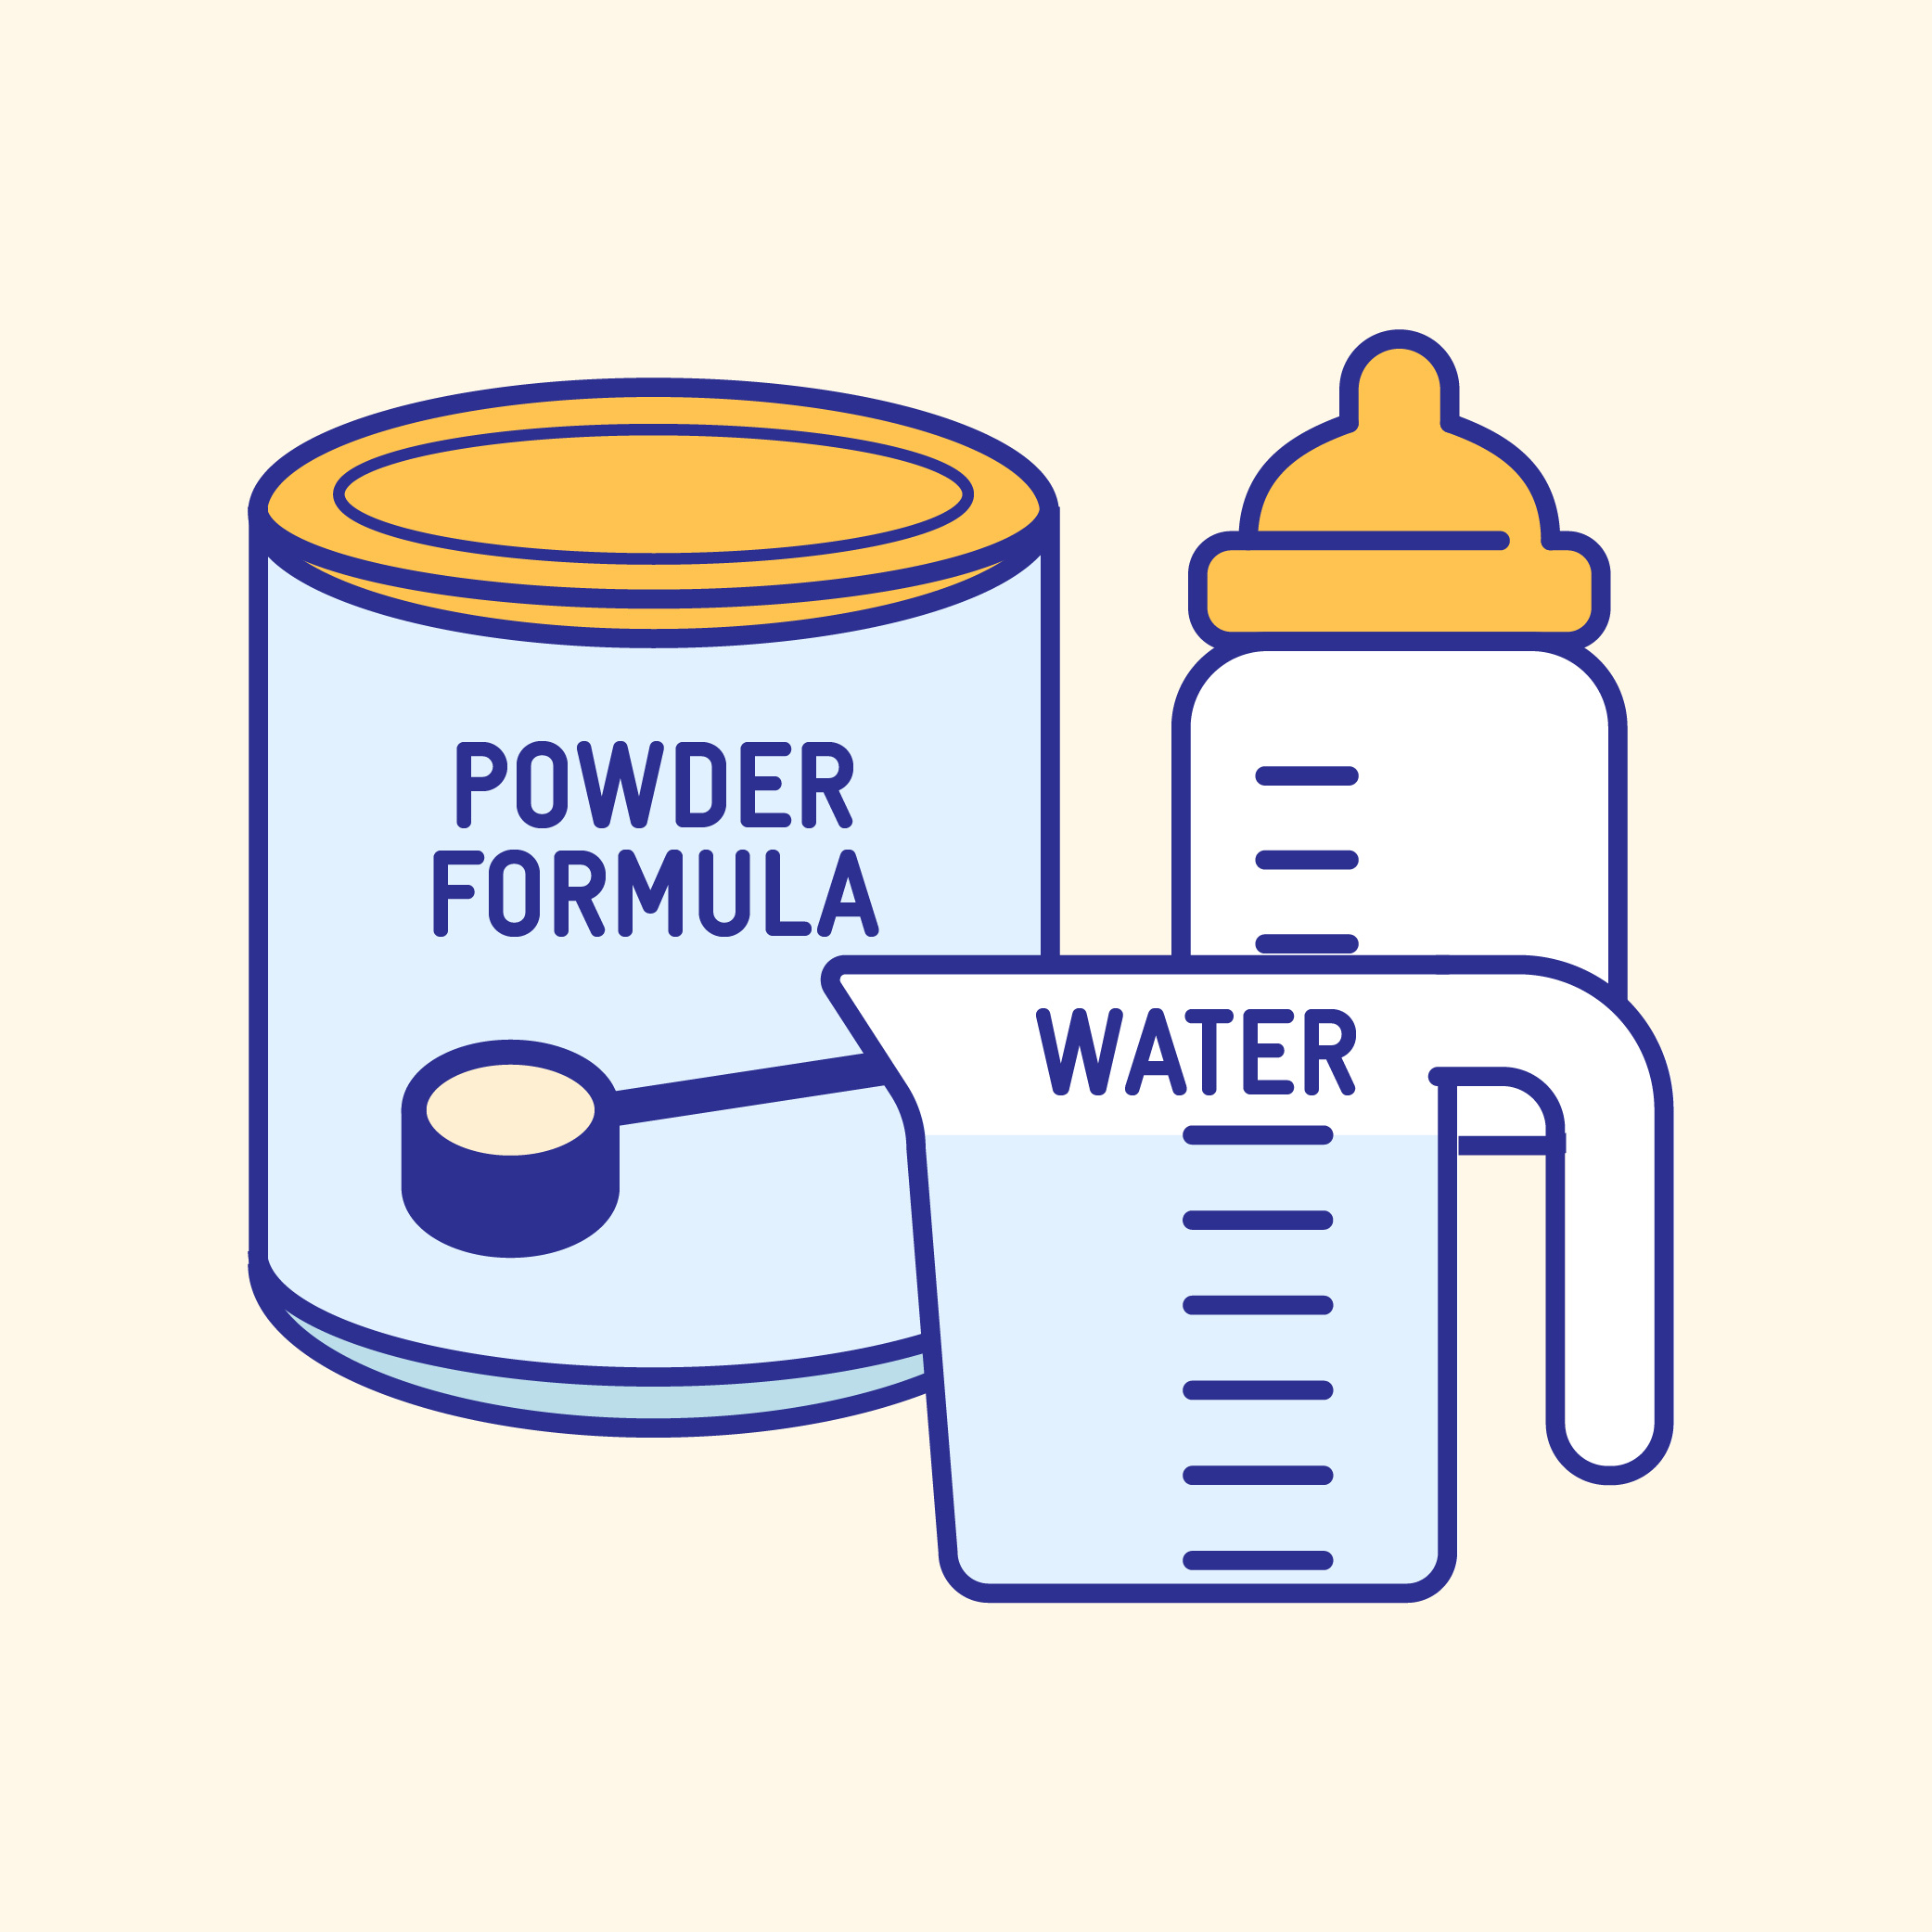
Carefully read and follow the mixing instructions on the formula label.

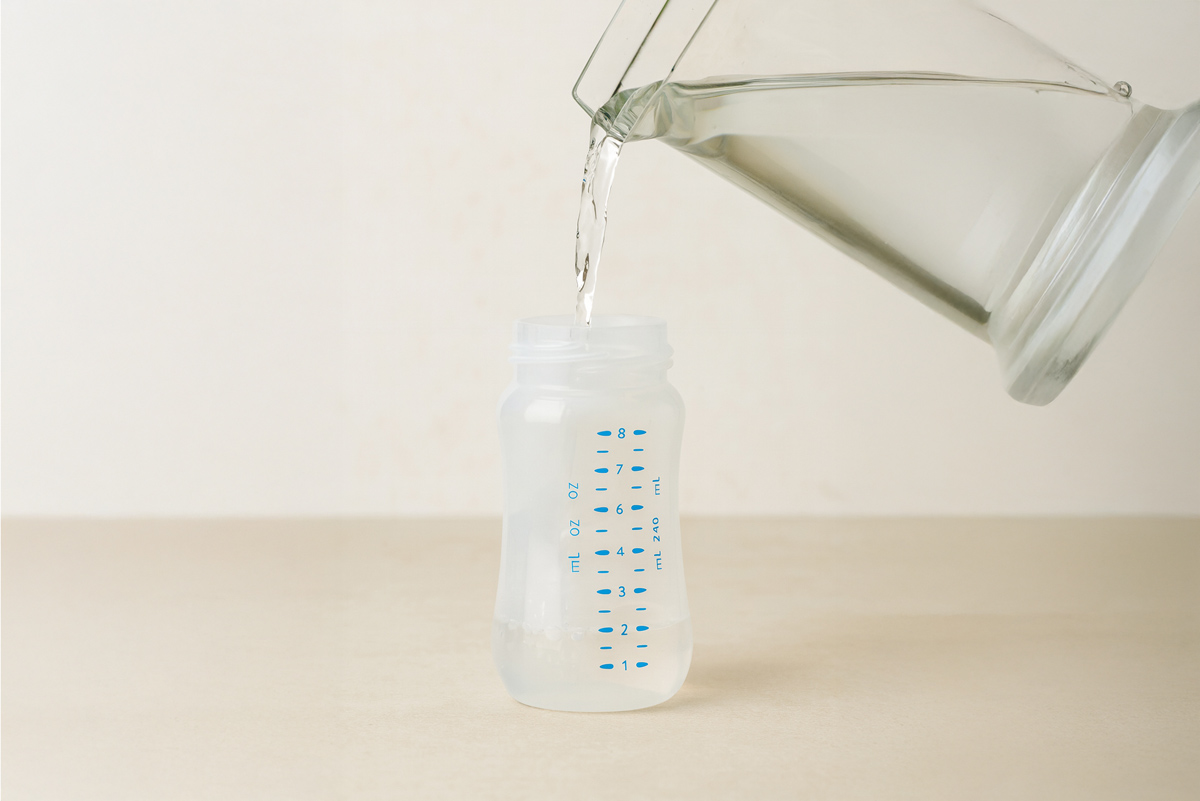
Use a safe water source to mix your infant formula.

Never prop up the bottle to feed baby or add cereal to the bottle (this can cause choking or overeating.)

Never use homemade infant formula. It lacks the correct balance of vitamins and nutrients your baby needs to grow and thrive. An incorrect balance can lead to serious health problems like seizures or brain swelling, and can even be fatal.

How can I tell if the new formula is a good fit for my baby?

Most babies will accept a gradual change to a new formula. If your baby turns their head away or refuses the bottle of new formula, it may be a sign they are still adjusting to the flavor.

If you notice any of the signs below, stop offering the new formula and contact your healthcare provider right away.

These may be signs your baby is not tolerating the new formula:

X Diarrhea (runny or watery poop)
X Bloody or slimy poop
X Vomiting
X Crying while pulling legs up, like they have a tummy ache
X Trouble gaining weight

If you have any questions or your baby is having problems with a new formula, contact your local WIC office or your healthcare provider for guidance.

RESOURCES

Infant Formula: Safety Do’s and Don’ts (FDA)
Infant Formula Preparation and Storage (CDC)
About Cronobacter Infection (CDC)
Sources

Adapted from:

United States Food & Drug Administration. Tips for preparing imported infant formula. Accessed February 20, 2025.
https://www.fda.gov/food/buy-store-serve-safe-food/handling-infant-formula-safely-what-you-need-know

Wyoming WIC WDH Public Health

CONTACT US

1-888-996-9378
health.wyo.gov/wic
  • How to apply for WIC

Resources

  • WIC Shopper
  • WIC Smart
  • WIC Breastfeeding Support
  • Wyoming Medicaid
  • Wyoming 211
  • Tell a friend about WIC!
  • Guide to Using Your WIC Benefits
  • Wyoming WIC Facebook
  • Wyoming WIC Instagram
  • Wyoming WIC

USDA is an equal opportunity provider, employer, and lender.

Cookie PolicyPrivacy Policy

© Brush Art Corporation
This website is operated by Brush Art Corporation on behalf of the Wyoming Department of Health.

Install this web app on your iPhone: tap and then Add to Home Screen.

SIDE-LYING HOLD

Side-Lying Hold

  1. For the right breast, lie on your right side with your baby facing you.
  2. Pull your baby close. Your baby’s mouth should be level with your nipple.
  3. In this position, you can cradle your baby’s back with your left arm and support yourself with your right arm and/or pillows.
  4. Keep loose clothing and bedding away from your baby.
  5. Reverse for the left breast.

This hold is useful when:

  • You had a C-section
  • You want to rest while baby feeds
  • You are breastfeeding in the middle of the night
  • You and your baby are comfortable in this position
CROSS-CRADLE HOLD

Cross-Cradle Hold

  1. For the right breast, use your left arm to hold your baby’s head at your right breast and baby’s body toward your left side. A pillow across your lap can help support your left arm.
  2. Gently place your left hand behind your baby’s ears and neck, with your thumb and index finger behind each ear and your palm between baby’s shoulder blades. Turn your baby’s body toward yours so your tummies are touching.
  3. Hold your breast as if you are squeezing a sandwich. To protect your back, avoid leaning down to your baby. Instead, bring your baby to you.
  4. As your baby’s mouth opens, push gently with your left palm on baby’s head to help them latch on. Make sure you keep your fingers out of the way.
  5. Reverse for the left breast.

This hold is useful when:

  • Your baby is premature
  • Your baby has a weak suck
  • Your baby needs help to stay latched
  • Your baby needs extra head support
  • You and your baby are comfortable in this position
CLUTCH OR “FOOTBALL” HOLD

Clutch or “Football” Hold

  1. For the right breast, hold your baby level, facing up, at your right side.
  2. Put your baby’s head near your right nipple and support their back and legs under your right arm.
  3. Hold the base of your baby’s head with your right palm. A pillow underneath your right arm can help support your baby’s weight.
  4. To protect your back, avoid leaning down to your baby. Bring baby to you instead.
  5. Reverse for the left breast.

This hold is useful when:

  • You had a C-section
  • You have large breasts
  • You have flat or inverted nipples
  • You have a strong milk let-down
  • You are breastfeeding twins
  • Your baby likes to feed in an upright position
  • Your baby has reflux
  • You and your baby are comfortable in this position
CRADLE HOLD

Cradle Hold

  1. For the right breast, cradle your baby with your right arm. Your baby will be on their left side across your lap, facing you at nipple level.
  2. Your baby’s head will rest on your right forearm with your baby’s back along your inner arm and palm.
  3. Turn your baby’s tummy toward your tummy. Your left hand is free to support your breast, if needed. Pillows can help support your arm and elbow.
  4. To protect your back, avoid leaning down to your baby. Instead, bring your baby to you.
  5. Reverse for the left breast.

This hold is useful when:

  • Your baby needs help latching on
  • You and your baby are comfortable in this position
Laid-Back Hold

Laid-Back Hold

  1. Lean back on a pillow with your baby’s tummy touching yours and their head at breast level. Some moms find that sitting up nearly straight works well. Others prefer to lean back and lie almost flat.
  2. You can place your baby’s cheek near your breast, or you may want to use one hand to hold your breast near your baby. It’s up to you and what you think feels best.
  3. Your baby will naturally find your nipple, latch, and begin to suckle.

This hold is useful when:

  • Your baby is placed on your chest right after birth
  • You have a strong milk let-down
  • You have large breasts
  • You and your baby are comfortable in this position